Difference between revisions of "Fastboot for TRB1XX"
From Teltonika Networks Wiki
| Line 1: | Line 1: | ||
==Introduction== | ==Introduction== | ||
| − | '''Fastboot''' is a powerful protocol | + | '''Fastboot''' is a powerful protocol allowing low-level management and modification of a router’s firmware and critical partitions. Fastboot mode provides direct access to the router’s storage, enabling advanced tasks such as flashing firmware, replacing the bootloader, and performing other critical updates. |
| + | This article provides a guide on using Fastboot, specifically designed for the TRB1XX series.</li> | ||
==Upgrade== | ==Upgrade== | ||
| − | Firmware upgrade process via Fastboot requires only few simple steps: | + | Firmware upgrade process via Fastboot requires only a few simple steps: |
| − | #<li>Download the necessary files for TRB1_R_00.07.05.3: kernel.img and rootfs.ubi. These files | + | #<li>Download the necessary files for TRB1_R_00.07.05.3: kernel.img and rootfs.ubi. These files must be extracted according to the '''device's product code'''. You can download them from the following link: [https://kaunas.teltonika.lt:444/d/376f07e6f2b5495ebc4b/ '''kernel and rootfs'''].</li> |
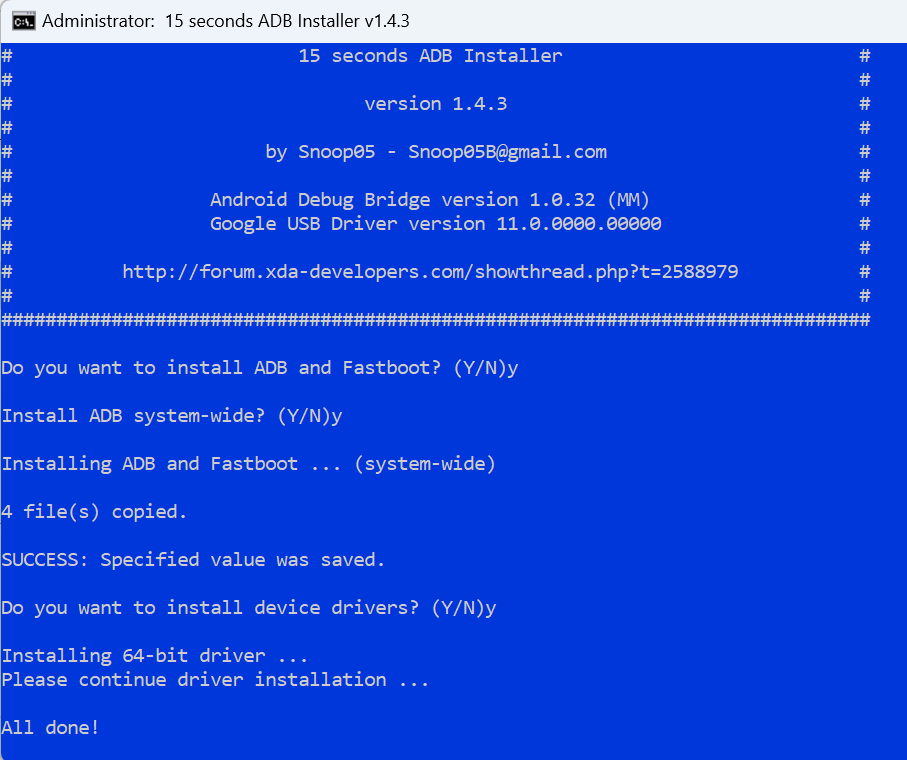
| − | #<li>Download and | + | #<li>Download and install [https://kaunas.teltonika.lt:444/f/a9ffe2e9d98446f2aaf3/?dl=1 '''ADB software'''].[[File:11111.png|border|class=tlt-border]].</li> |
#<li>Press and hold the reset button, then simultaneously plug in the power cable while continuing to hold the reset button for approximately 5 seconds (until the mobile signal LEDs start blinking).</li> | #<li>Press and hold the reset button, then simultaneously plug in the power cable while continuing to hold the reset button for approximately 5 seconds (until the mobile signal LEDs start blinking).</li> | ||
#<li>Connect TRB14XX via USB cable to your computer.</li> | #<li>Connect TRB14XX via USB cable to your computer.</li> | ||
| − | |||
#<li>Open '''CMD''' with admin rights. Use the '''cd''' command to navigate to the directory where you saved the ''kernel.img'' and ''rootfs.ubi'' files (Example: '''cd C:\Test''').</li> | #<li>Open '''CMD''' with admin rights. Use the '''cd''' command to navigate to the directory where you saved the ''kernel.img'' and ''rootfs.ubi'' files (Example: '''cd C:\Test''').</li> | ||
| − | + | #<li>Then use this command: '''fastboot devices''' [[File:4444.png|border|class=tlt-border]].</li> | |
| − | + | #*<li>If the device isn't listed, please use the [https://kaunas.teltonika.lt:444/d/40841368fece4a64a13e '''troubleshooting guide'''].</li> | |
| − | + | #<li>Flash the rootfs and kernel images by executing the following commands:</li> | |
| − | #Then use this command: '''fastboot devices'''. | + | fastboot erase boot_a && fastboot erase boot_b && fastboot erase rootfs_a && fastboot erase rootfs_b && fastboot flash boot_a kernel.img && fastboot flash boot_b kernel.img && fastboot flash rootfs_a rootfs.ubi && fastboot flash rootfs_b rootfs.ubi |
| − | + | [[File:6666.png|950px|border|class=tlt-border]] | |
| − | + | <li>After executing both commands, disconnect and reconnect the power to the TRB. The device should boot up normally, running firmware version TRB1_R_00.07.05.3.</li> | |
| − | + | <li>You can install the latest firmware version on the TRB through the WebUI. The latest firmware can be downloaded from [https://wiki.teltonika-networks.com/view/FW_%26_SDK_Downloads. '''here'''].</li> | |
| − | # | ||
| − | |||
| − | |||
| − | |||
| − | |||
| − | |||
| − | |||
| − | </ | ||
Latest revision as of 14:52, 11 August 2024
Introduction
Fastboot is a powerful protocol allowing low-level management and modification of a router’s firmware and critical partitions. Fastboot mode provides direct access to the router’s storage, enabling advanced tasks such as flashing firmware, replacing the bootloader, and performing other critical updates.
This article provides a guide on using Fastboot, specifically designed for the TRB1XX series.
Upgrade
Firmware upgrade process via Fastboot requires only a few simple steps:
- Download the necessary files for TRB1_R_00.07.05.3: kernel.img and rootfs.ubi. These files must be extracted according to the device's product code. You can download them from the following link: kernel and rootfs.
- Download and install ADB software.
 .
. - Press and hold the reset button, then simultaneously plug in the power cable while continuing to hold the reset button for approximately 5 seconds (until the mobile signal LEDs start blinking).
- Connect TRB14XX via USB cable to your computer.
- Open CMD with admin rights. Use the cd command to navigate to the directory where you saved the kernel.img and rootfs.ubi files (Example: cd C:\Test).
- Then use this command: fastboot devices
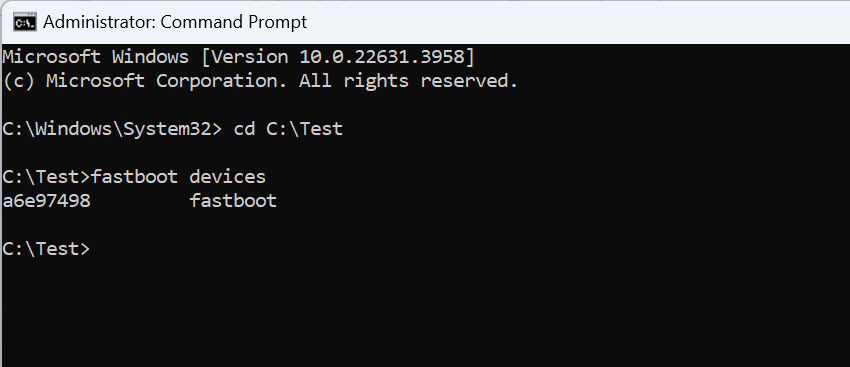 .
. - If the device isn't listed, please use the troubleshooting guide.
- Flash the rootfs and kernel images by executing the following commands:


fastboot erase boot_a && fastboot erase boot_b && fastboot erase rootfs_a && fastboot erase rootfs_b && fastboot flash boot_a kernel.img && fastboot flash boot_b kernel.img && fastboot flash rootfs_a rootfs.ubi && fastboot flash rootfs_b rootfs.ubi


