Template:Networking rut956 first start configure your computer: Difference between revisions
No edit summary |
No edit summary |
||
| Line 1: | Line 1: | ||
==Configure your computer (Windows)== | |||
<ol> | |||
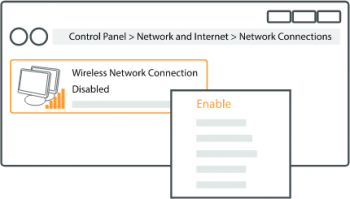
<li>Enable the wireless network connection (go to <b>Start → Control Panel → Network and Internet → Network and Sharing Center</b>. In the left panel click the <b>Change adapter settings</b> link. Right click on <b>Wireless Network Connection</b> and select <b>Enable</b>).<br><br>[[File:Qsg rutxxx enable wireless connection v2.png|350px]]</li><br> | |||
<li>Setup wireless network adapter on your computer (right click on <b>Wireless Network Connection</b> and select <b>Properties</b>. After that select <b>Internet Protocol Version 4 (TCP/IP)</b> and click <b>Properties</b>).</li> | |||
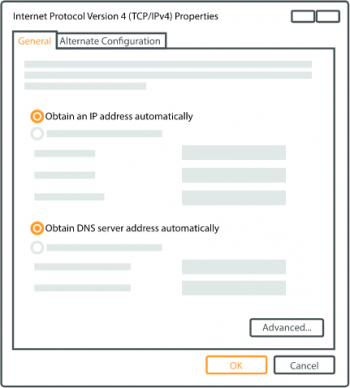
<li>Select <b>Obtain IP address</b> and <b>Obtain DNS server address automatically</b> if they are not selected. Click <b>OK</b>.<br><br>[[File:Qsg rutxxx obtain ip address automatically v2.png|350px]]</li><br> | |||
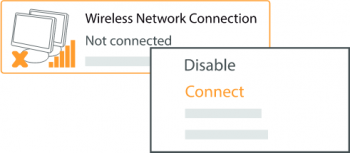
<li>Right click on <b>Wireless Network Connection</b> and select <b>Connect</b> to see available wireless networks.<br><br>[[File:Qsg rutxxx connect to wireless network v2.png|350px]]</li><br> | |||
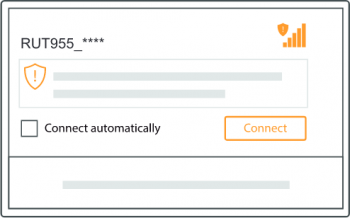
| | <li>Choose the wireless network <b>{{{name}}}_****</b> from the list and click <b>Connect</b>. Enter the WiFi password located on the device's label.<br><br>[[File:Qsg rut955 connect to wireless ssid v2.png|350px]]</li> | ||
</ol> | |||
| | |||
| | |||
Latest revision as of 09:58, 11 January 2022
Configure your computer (Windows)
- Enable the wireless network connection (go to Start → Control Panel → Network and Internet → Network and Sharing Center. In the left panel click the Change adapter settings link. Right click on Wireless Network Connection and select Enable).

- Setup wireless network adapter on your computer (right click on Wireless Network Connection and select Properties. After that select Internet Protocol Version 4 (TCP/IP) and click Properties).
- Select Obtain IP address and Obtain DNS server address automatically if they are not selected. Click OK.

- Right click on Wireless Network Connection and select Connect to see available wireless networks.

- Choose the wireless network {{{name}}}_**** from the list and click Connect. Enter the WiFi password located on the device's label.

