Template:Networking rut manual profiles: Difference between revisions
No edit summary |
No edit summary |
||
| Line 20: | Line 20: | ||
---- | ---- | ||
To create a new profile, enter a custom name for the profile and click the '''Add''' button. | To create a new profile, enter a custom name for the profile and click the '''Add''' button. | ||
{{#ifeq:{{{series}}} | {{#ifeq:{{{series}}}|RUT9XX | ||
| | | | ||
You can also click on the checkbox to create new profile from your current configuration, otherwise | You can also click on the checkbox to create new profile from your current configuration, otherwise | ||
new profile will have factory default settings, only the password of the router will be transferred to the new configuration. | new profile will have factory default settings, only the password of the router will be transferred to the new configuration. | ||
| Line 29: | Line 29: | ||
[[File:Networking_rut2xx_manual_profiles_configuration_profiles_add_new_v1.png|border|class=tlt-border]] | [[File:Networking_rut2xx_manual_profiles_configuration_profiles_add_new_v1.png|border|class=tlt-border]] | ||
}} | |||
---- | ---- | ||
Revision as of 09:55, 20 October 2020
The information in this page is updated in accordance with the [[Media:_WEBUI.bin|]] firmware version.
Summary
Profiles provides a way to create multiple distinct router configuration sets and apply them to the router based on current user requirements.
This chapter is an overview of the Profiles page in {{{name}}} devices.
Profiles
This section displays user defined profiles and provides the possibility to add new ones:
To create a new profile, enter a custom name for the profile and click the Add button.
![]()
Note: Profiles can be switched with [[{{{name}}} SMS Utilities|SMS Utilities]] functions or via this page.
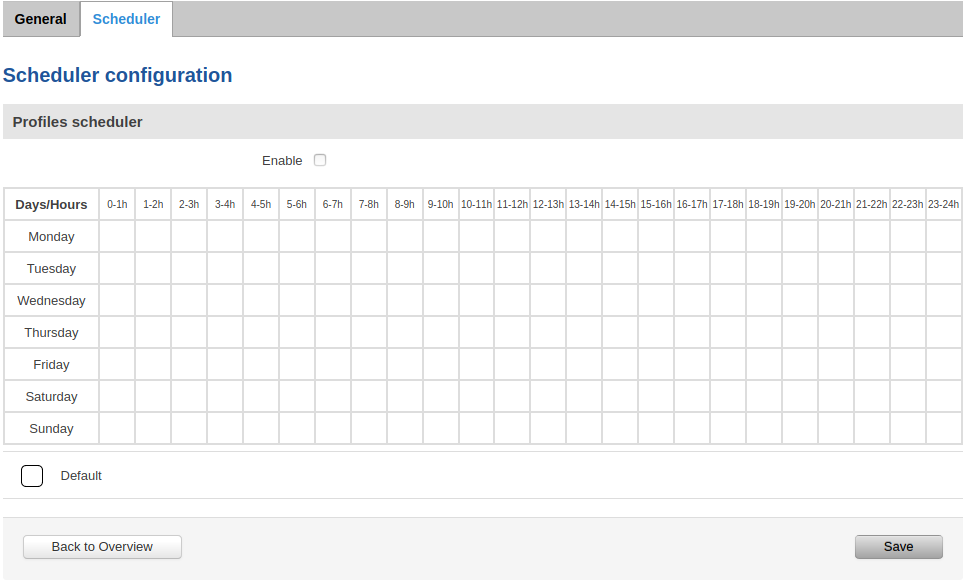
Scheduler
The Profile Scheduler provides a possibility to set up a schedule of when the router should use one configuration or another. Different configuration profiles use differently colored dots for distinction. Select a profile from the dropdown below and click on time interval boxes in the scheduler table to indicate on which days/hours the profile should be applied.
[[Category:{{{name}}} System section]]


