Noip.com DDNS configuration: Difference between revisions
Appearance
No edit summary |
|||
| Line 5: | Line 5: | ||
==Step 1: noip.com== | ==Step 1: noip.com== | ||
First thing we need to visit the website of our system. You can access the website by entering www.noip.com/login in your network browser url bar. | First thing we need to visit the website of our system. You can access the website by entering '''www.noip.com/login''' in your network browser url bar. | ||
===Login screen=== | ===Login screen=== | ||
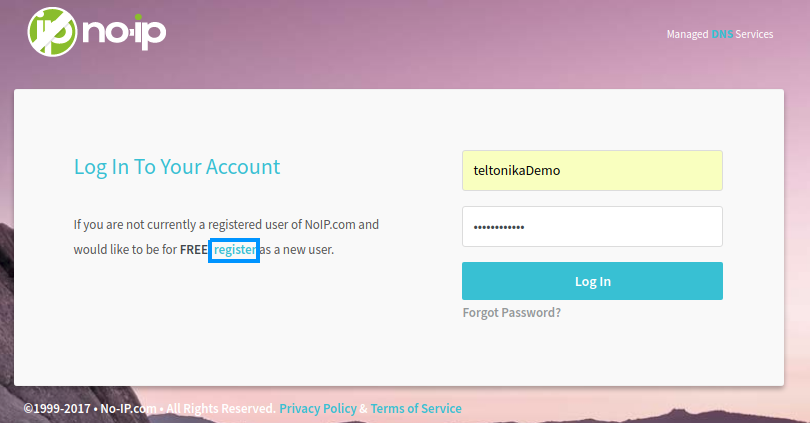
First we need to login into noip.com system using your credentials. If you don't have a registered account then you need to register into no-ip system. | First we need to login into noip.com system using your credentials. If you don't have a registered account then you need to register into no-ip system. You can do that by clicking '''register'''. | ||
[[File:NoipLoginscreen.png]] | [[File:NoipLoginscreen.png]] | ||
===Host creation=== | |||
[[File:Hostcreate.png]] | |||
Revision as of 15:35, 28 November 2017
Summary
This chapter is a guide on configuring noip.com provaider DDNS instance on RUT routers.
Step 1: noip.com
First thing we need to visit the website of our system. You can access the website by entering www.noip.com/login in your network browser url bar.
Login screen
First we need to login into noip.com system using your credentials. If you don't have a registered account then you need to register into no-ip system. You can do that by clicking register.


