Noip.com DDNS configuration
Summary
This chapter is a guide on configuring a noip.com provider DDNS instance on RUT routers.
Step 1: noip.com configuration
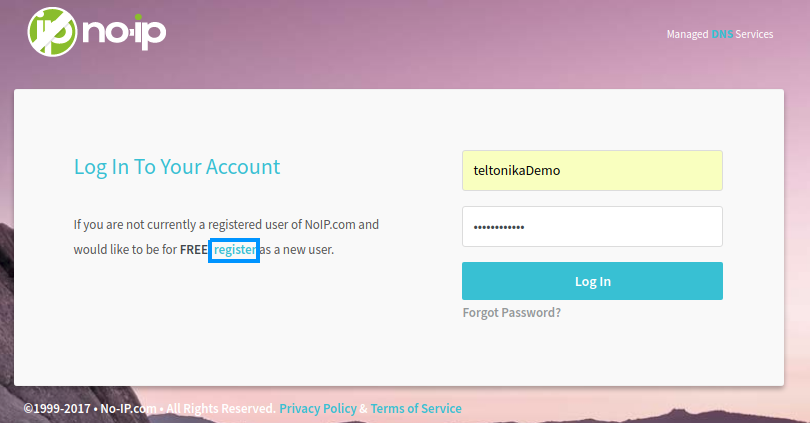
First thing we need to do is to visit the website of our system. You can access the website by entering www.noip.com/login in your internet browser's URL bar.
Login screen
We need to login into noip.com system using our credentials. If you don't have a registered account then you need to create one. You can do that by clicking register.
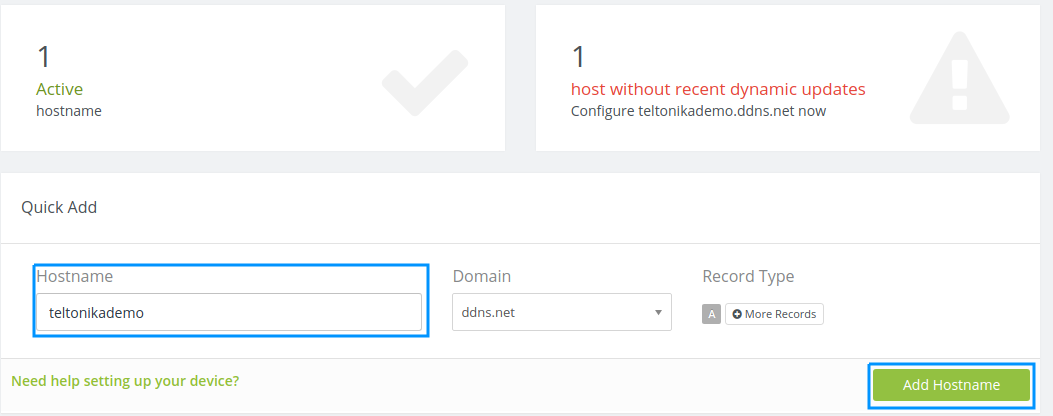
Create host
In the opened browser window, enter the name of the host and click Add Hostname
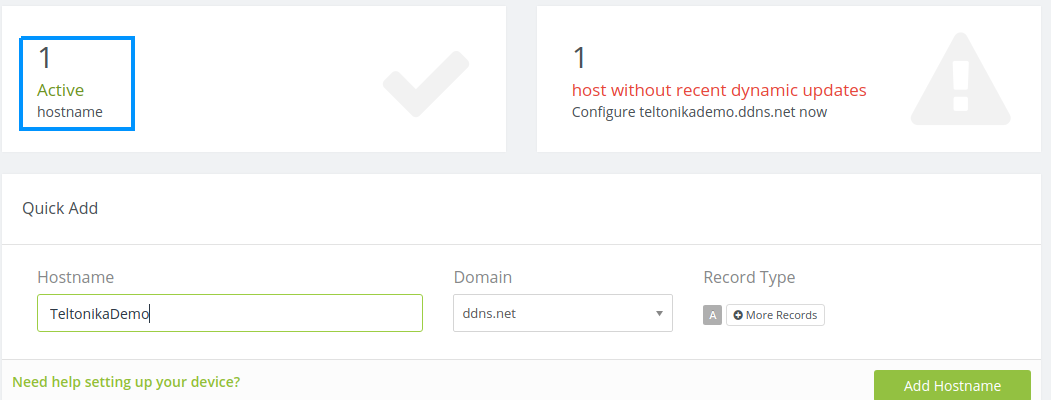
List of hosts
You can preview the list of hosts you have created by clicking the button Active
Example of list
Step 2: Router configuration
Now we need to open our RUT homepage. You can access the website by entering 192.168.1.1 in your internet browser's URL bar.
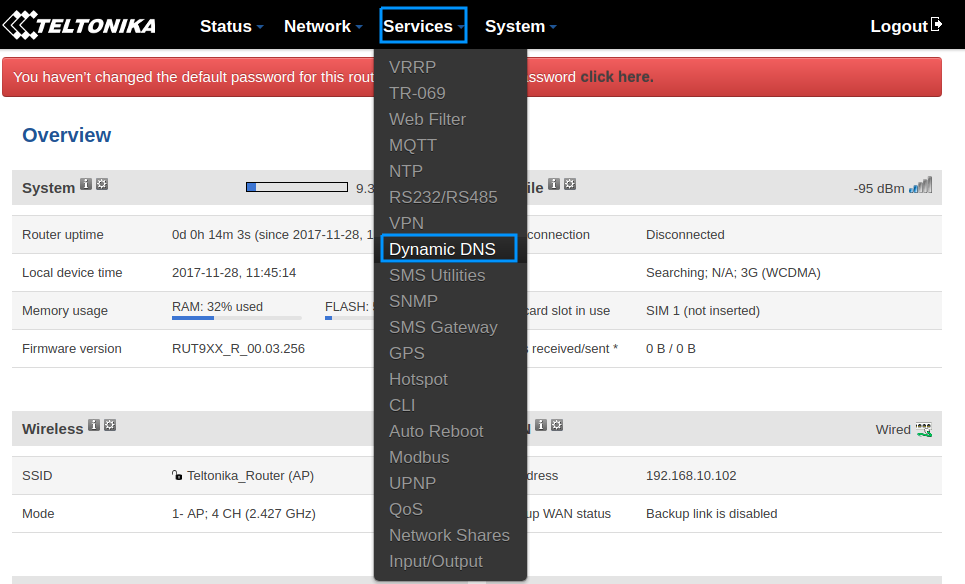
Open the DDNS configuration panel by clicking Services → Dynamic DNS
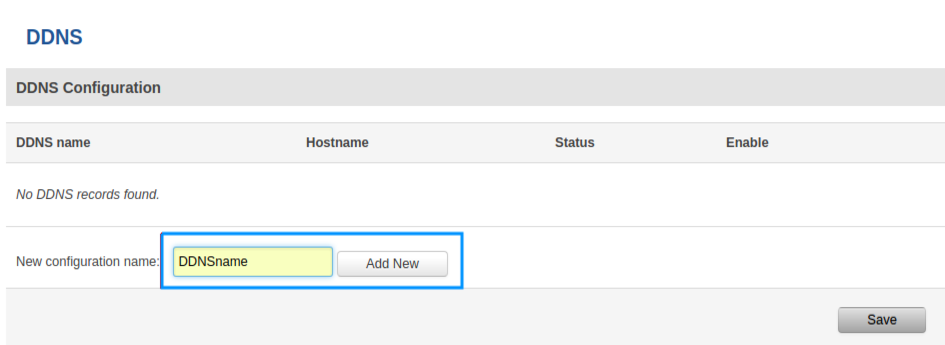
DDNS configuration name
Type in your DDNS configuration name and click Add new
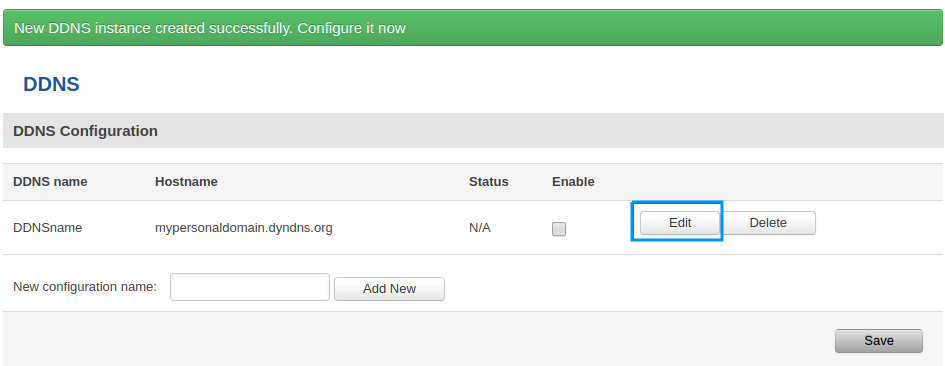
Click the Edit button to edit your DDNS instance configuration
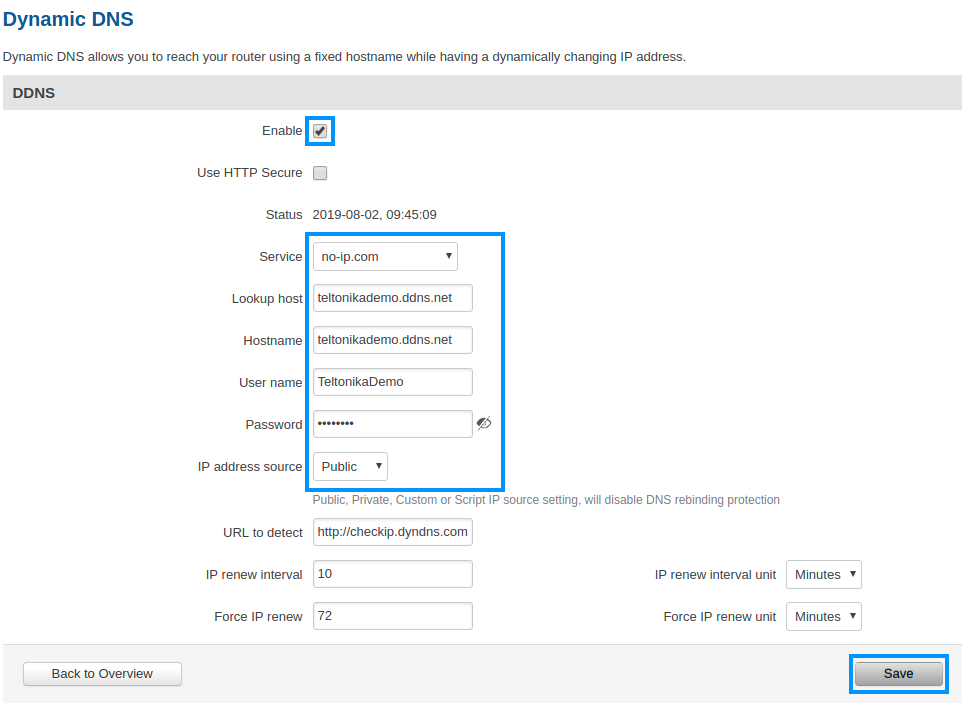
Configuration settings
Check the Enable box
Choose the noip.com service
Type your hostname, username, password and click Save
Step 3: Try your DDNS
Status
Wait up to 5 minutes from the time you saved the changes
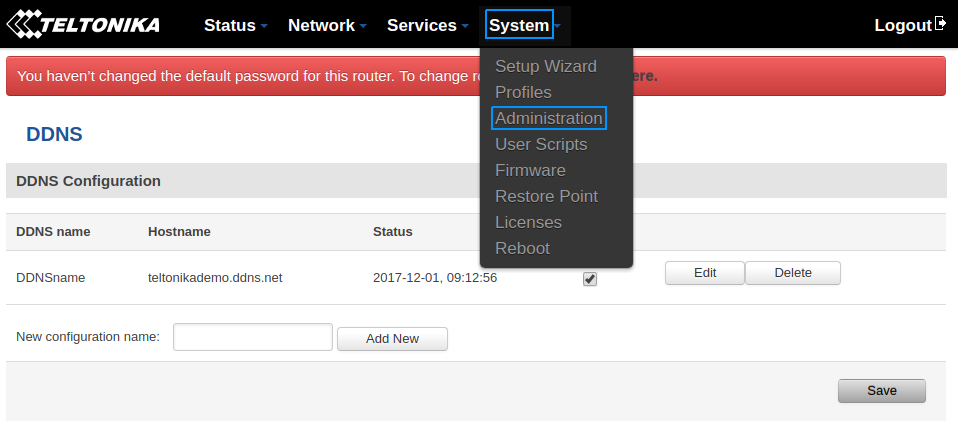
In the Status column, you can see when the last time the DDNS was updated
Enable remote HTTP access
Open the Administration page by clicking System → Administration
Connect to your host
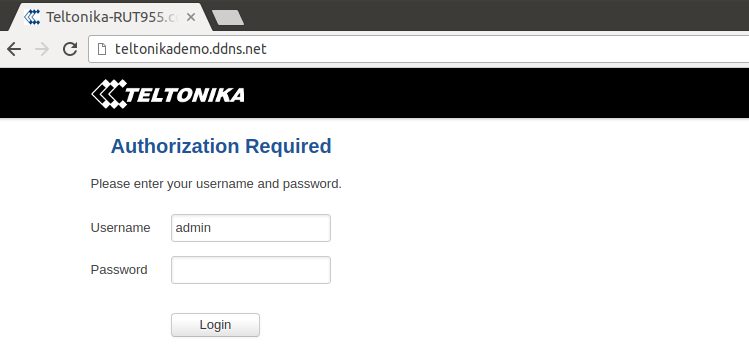
Try to access the host by entering your hostname in your internet browser's URL bar.

