How to generate TLS certificates (Ubuntu 18)?
Introduction
Transport Layer Security (TLS) is a cryptographic protocol that provides communications security over a computer network and is also the successor to SSL.
The TLS protocol aims primarily to provide privacy and data integrity between two communicating computer applications. When secured by TLS, connections between a client and a server have one or more of the following properties:
- The connection is private (or secure) because symmetric cryptography is used to encrypt the data transmitted. The keys for this symmetric encryption are generated uniquely for each connection and are based on a shared secret negotiated at the start of the session. The server and client negotiate the details of which encryption algorithm and cryptographic keys to use before the first byte of data is transmitted. The negotiation of a shared secret is both secure (the negotiated secret is unavailable to eavesdroppers and cannot be obtained, even by an attacker who places themselves in the middle of the connection) and reliable (no attacker can modify the communications during the negotiation without being detected).
- The identity of the communicating parties can be authenticated using public-key cryptography. This authentication can be made optional, but is generally required for at least one of the parties (typically the server).
- The connection ensures integrity because each message transmitted includes a message integrity check using a message authentication code to prevent undetected loss or alteration of the data during transmission.
This article provides a guide on how to generate your own TLS certificates and keys for OpenVPN connection that uses TLS authentication. This guide is aimed at Ubuntu users.
Step 1: downloading Easy-Rsa
Almost all of the steps will be done through the terminal. You can open the terminal by pressing this CTRL+ALT+T key combination on your keyboard.
First of all we need to download the Easy-Rsa source files. You can do that by executing this command in the terminal:
wget https://github.com/OpenVPN/easy-rsa/releases/download/v3.0.7/EasyRSA-3.0.7.tgz
To extract the downloaded file contents, execute this command in the terminal:
tar zxf EasyRSA-3.0.7.tgz
Step 2: preparing Easy-Rsa
In this step we will show how to prepare the Easy-Rsa for creating the necessary certificates.
First of all navigate into directory where all of the Easy-Rsa content is stored. You can do this by executing this command in the terminal:
cd ./EasyRSA-3.0.7
Create the configuration file. You can do this by executing this command in the terminal:
cp vars.example vars
Open the configuration file using your preferred text editor. We will use vim text editor.
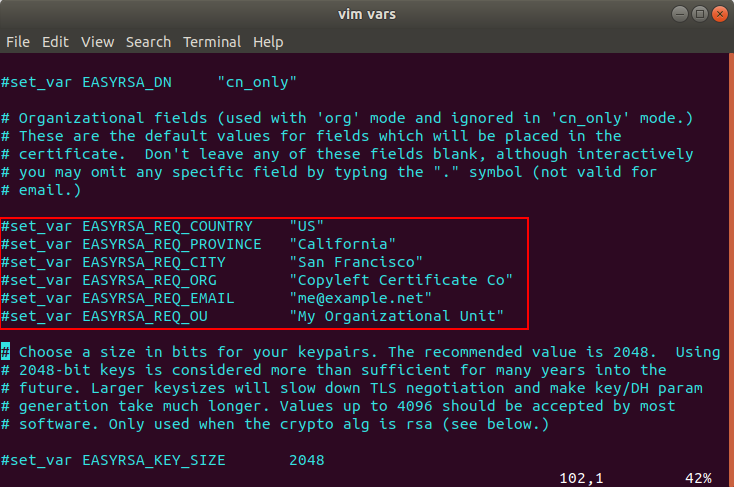
Locate the following lines like in the picture below.
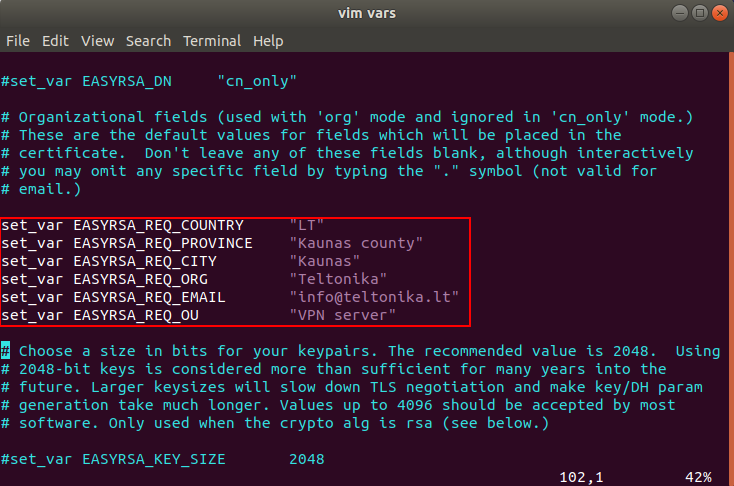
Uncomment the lines and change the values to whatever you’d prefer, but do not leave them blank.
After all the necessary changes have been made to the configuration file, save it and close it.
Now we need to initialize the necessary tasks to start building the certificates and all other things. Execute this command in the terminal:
./easyrsa init-pki
If everything was configure correctly you should see a text like in the picture below.
Note: the PKI directory in your case may or will differ.
Step 3: Building the CA
When the Easy-Rsa is prepared it is time to start building all the necessary certificates for the TLS connection.
To build the CA certificate, execute this command in the terminal:
./easyrsa build-ca nopass
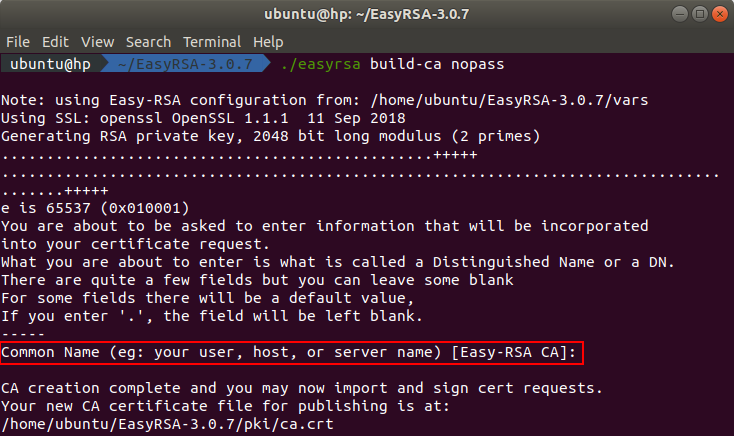
After executing the command you will be asked to enter the common name. Press enter to use the default values from the configuration file.
The generated CA certificate can be found in the directory ~/EasyRSA-3.0.7/pki and the certificate key can be found in the directory ~/EasyRSA-3.0.7/pki/private.
Step 4: building the server certificate and key
In this step we will show you how to generate the server key and certificate and how to sign it with your CA.
First of all we need to generate a certificate request. You can do this by executing this command in the terminal:
./easyrsa gen-req server nopass
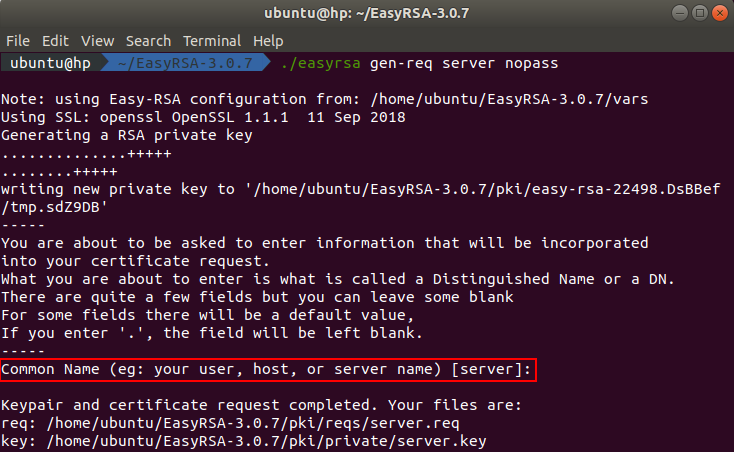
After executing the command you will be asked to enter the common name. Press enter to use the default values from the configuration file.
The generated server certificate request can be found in the directory ~/EasyRSA-3.0.7/pki/reqs and the key can be found in the directory ~/EasyRSA-3.0.7/pki/private.
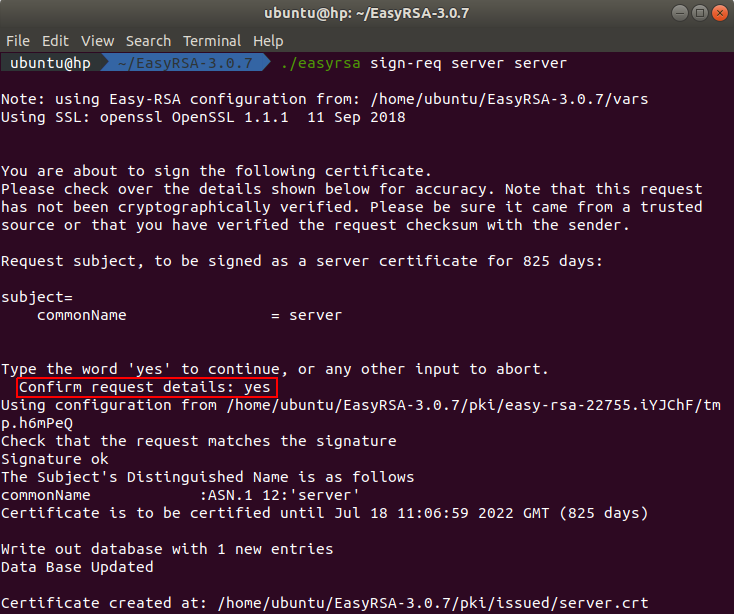
To build the server certificate we need to sign the server certificate request. You can do this by executing this command in the terminal:
./easyrsa sign-req server server
After executing the command you will be asked to confirm the request details. You need to type yes because any other entry will abort the process.
The signed server certificate can be found in the directory ~/EasyRSA-3.0.7/pki/issued.
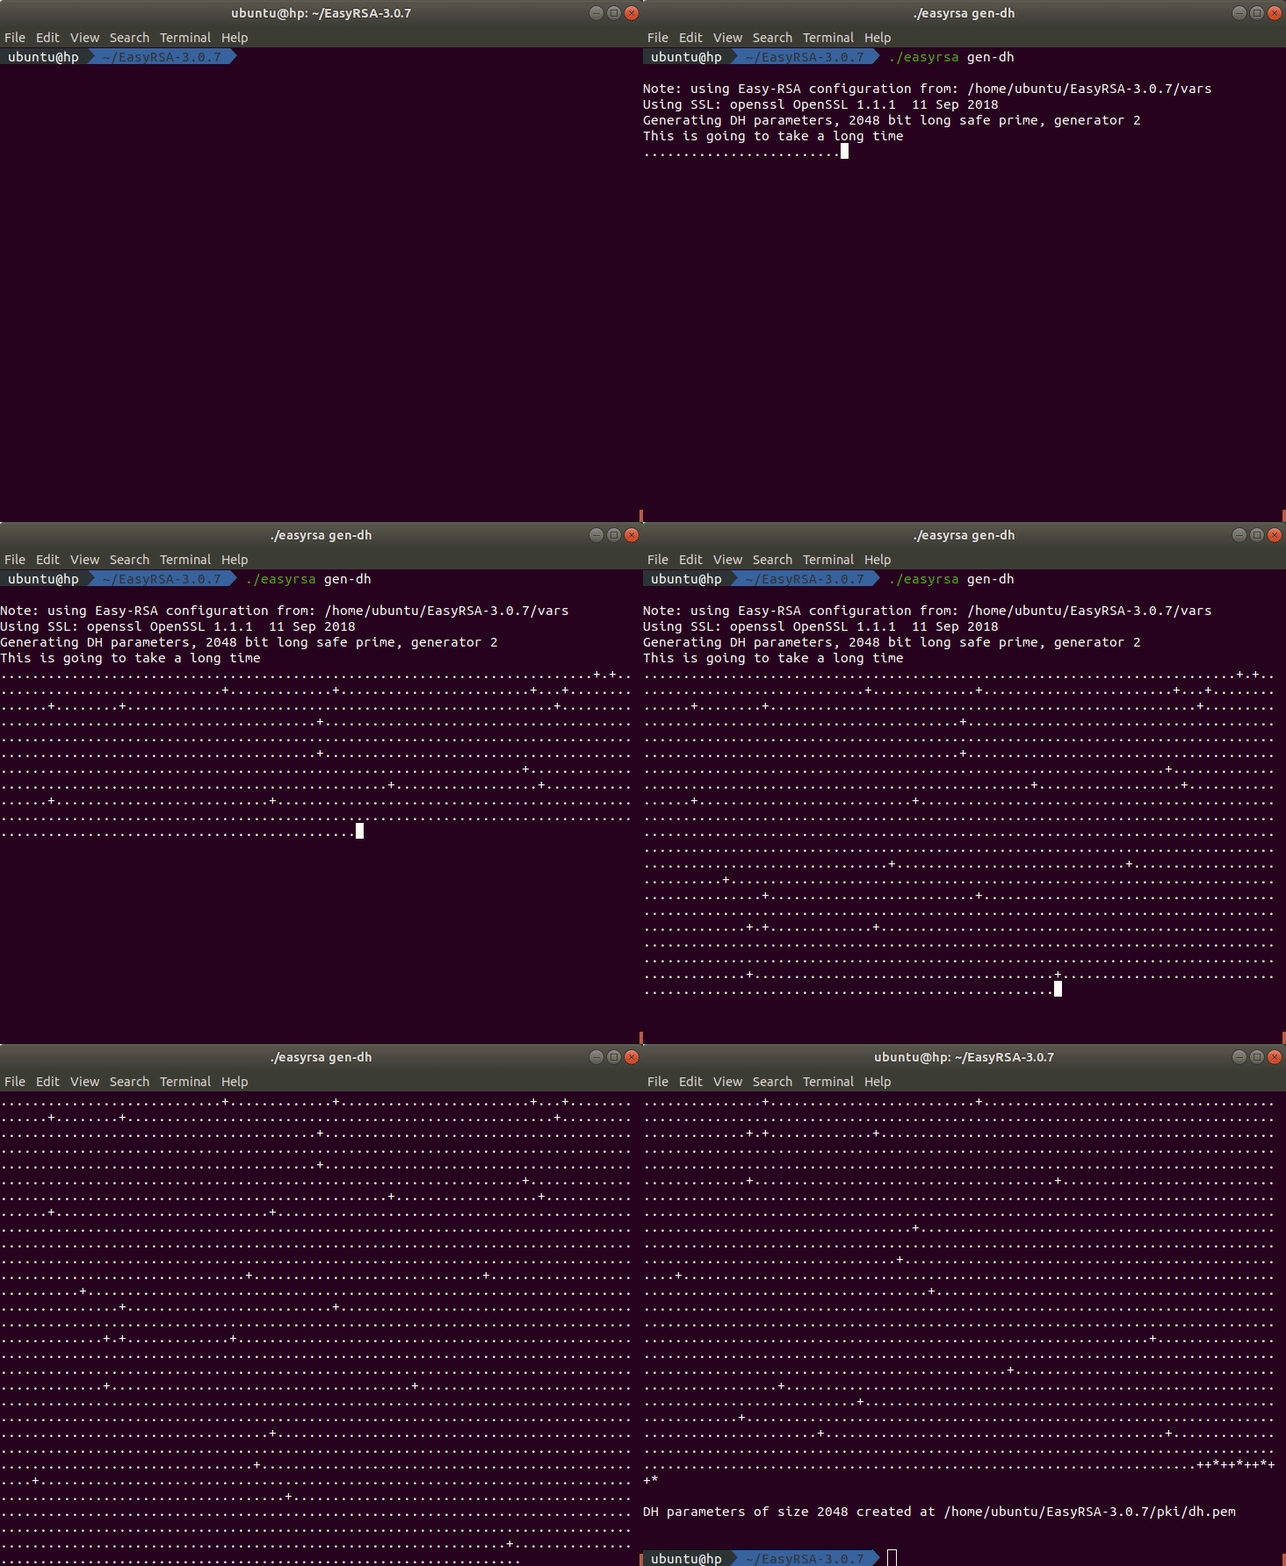
The last step in this part is to generate a Diffie-Hellman key. You can do this by executing this command in the terminal:
./easyrsa gen-dh
Depending on the size of the key, the process will take some time. While the key is generated, you should see an output like in the animation below.
The generated Diffie-Hellman key can be found in the directory ~/EasyRSA-3.0.7/pki.
All the necessary server certificates and keys were built. All keys and certificates, that will be used for the server, can be found in these directories:
- CA certificate - ~/EasyRSA-3.0.7/pki/ca.crt
- CA key - ~/EasyRSA-3.0.7/pki/ca.key
- Server certificate - ~/EasyRSA-3.0.7/pki/issued/server.crt
- Server key - ~/EasyRSA-3.0.7/pki/private/server.key
- Diffie-Hellman key - ~/EasyRSA-3.0.7/pki/dh.pem
Step 5: building client certificate and keys
In this step we will show you how to build a certificate and a key pair for the client.
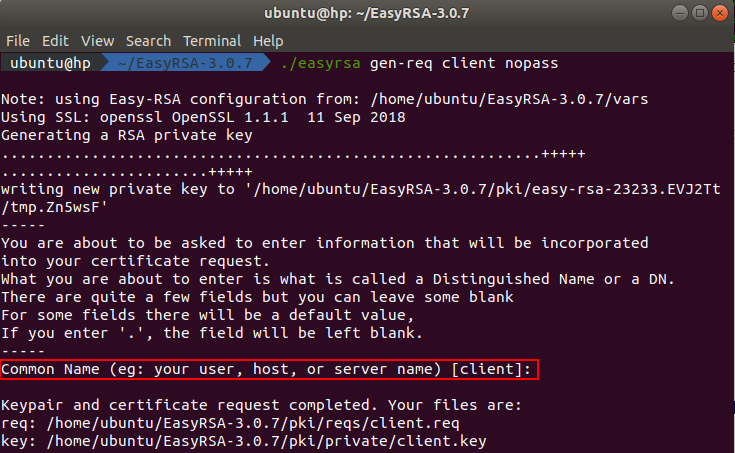
First of all we need to generate a certificate request. You can do this by executing this command in the terminal:
./easyrsa gen-req client nopass
After executing the command you will be asked to enter the common name. Press enter to use the default values from the configuration file.
The generated client certificate request can be found in the directory ~/EasyRSA-3.0.7/pki/reqs and the key can be found in the directory ~/EasyRSA-3.0.7/pki/private.
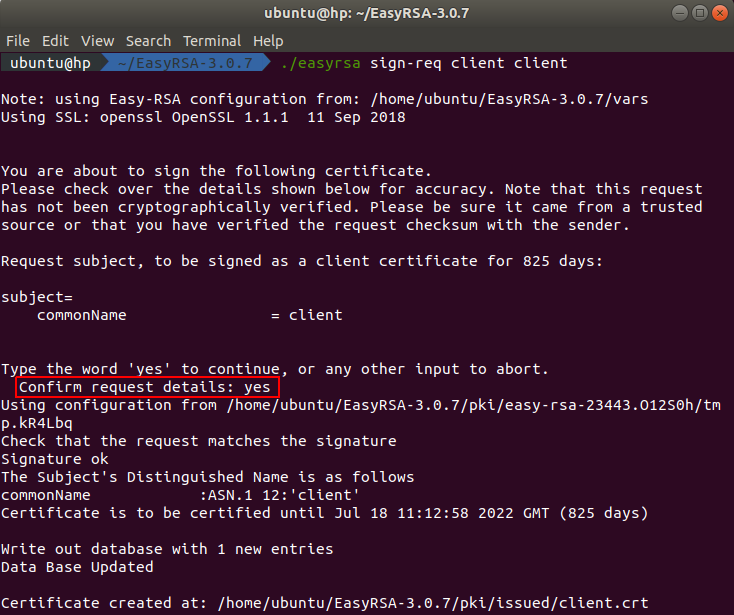
To build the client certificate we need to sign the client certificate request. You can do this by executing this command in the terminal:
./easyrsa sign-req client client
After executing the command you will be asked to confirm the request details. You need to type yes because any other entry will abort the process.
The signed client certificate can be found in the directory ~/EasyRSA-3.0.7/pki/issued.
All necessary client certificates and keys were built. You can found them in these directories:
- Client certificate - ~/EasyRSA-3.0.7/pki/issued/client.crt
- Client key - ~/EasyRSA-3.0.7/pki/private/client.key

