Template:Networking rutos manual input output
Template:Networking rutos manual fw disclosure
Summary
Inputs and outputs are used for monitoring and controlling a connected device or receiving signals from that device in order to trigger certain events. This chapter is an overview of the Input/Output section for {{{name}}} routers. If you're having trouble finding this page or some of the parameters described here on your device's WebUI, you should turn on "Advanced WebUI" mode. You can do that by clicking the "Advanced" button, located at the top of the WebUI.
Characteristics
Status
The Status page displays the current states of the router's input and output:
You can invert Input pin by clicking on clider in Inversion column and switch Output pin state by clicking on slider in State column.
Status from command line
You can also obtain the status of the input or output from the command line. List of ubus possible values in {{{name}}} devices:
ioman.gpio.din1
ioman.gpio.dout1
Call command ubus call value status :
root@Teltonika-{{{name}}}:~# ubus call ioman.gpio.dout1 status
{
        "value": "0",
        "direction": "in",
        "bi_dir": false,
        "invert_input": false
}
- din1 is the input:
- "value": "0" means low level state.
- "value": "1" means high level state.
- dout1 is the output:
- "value": "0" means low level state.
- "value": "1" means high level state.
Post/Get
Enabling Post/Get will allow you to send HTTP POST/GET requests to device which controls the state of the output. The figure below is an example of the Post/Get configuration section and the table below provides information on the fields contained in that section:
| Field | Value | Description |
|---|---|---|
| Enable | off | on; default: off | Turns Post/Get on or off. |
| Username | string; default: none | Username used for authentication in POST/GET queries. |
| Password | string; default: none | Password used for authentication in POST/GET queries. |
Post/Get examples
It is possible to turn the output on and off by using a valid HTTP POST/GET syntax. Use a web browser or any other compatible software to submit HTTP POST/GET strings to the device.
Below is a table containing syntax examples of this usage:
| Action | POST/GET URL |
|---|---|
| Turn Output state to high | http://192.168.1.1/cgi-bin/io_state?username=user1&password=user1&pin=dout1&state=on |
| Turn Output state to low after 5 seconds for 3 seconds | http://192.168.1.1/cgi-bin/io_state?username=user1&password=user1&pin=dout1&state=on&delay=5&time=3 |
Overview:
- 192.168.1.1 - router's default LAN IP address; replace it in accordance with your own configuration.
- username - login name from Post/Get configuration.
- password- password from Post/Get configuration.
- delay - defines a delay (in seconds) after which the specified action will be performed.
- time - defines a window of time during which the action will take place. For instance, if you post an on action while specifying time=5, the output will turn on and stay on for 5 seconds before turning off.
Delay and time parameters can be used together. For example, if delay is 10, time is 5, action is on, then 10 seconds after the execution of the command, the output will switch to on (or stay in on state if it was already that way), then after 5 more seconds it will switch to off state. In this case the overall command execution time is 15 seconds.
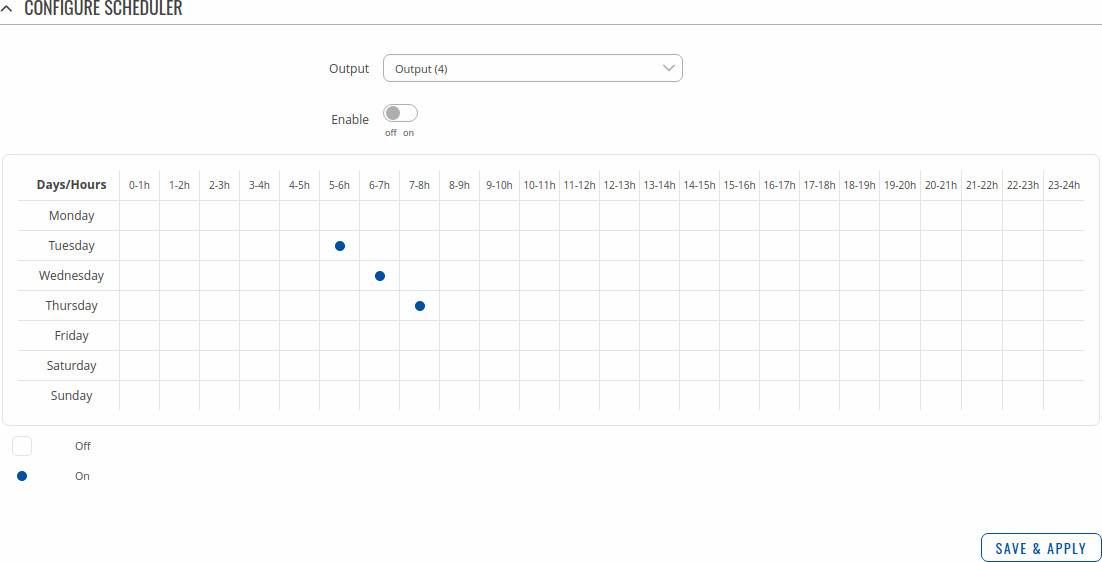
Scheduler
With the help of the output Scheduler you can configure a timetable of when the output should be enabled or disabled based on date and time. By default everything is unset.
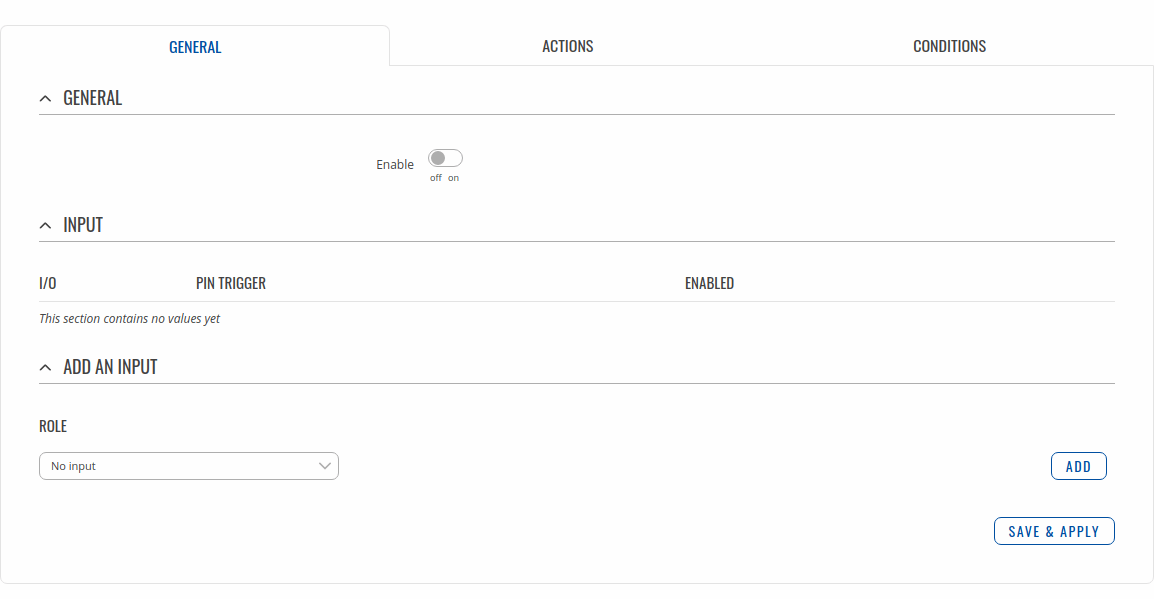
Io juggler
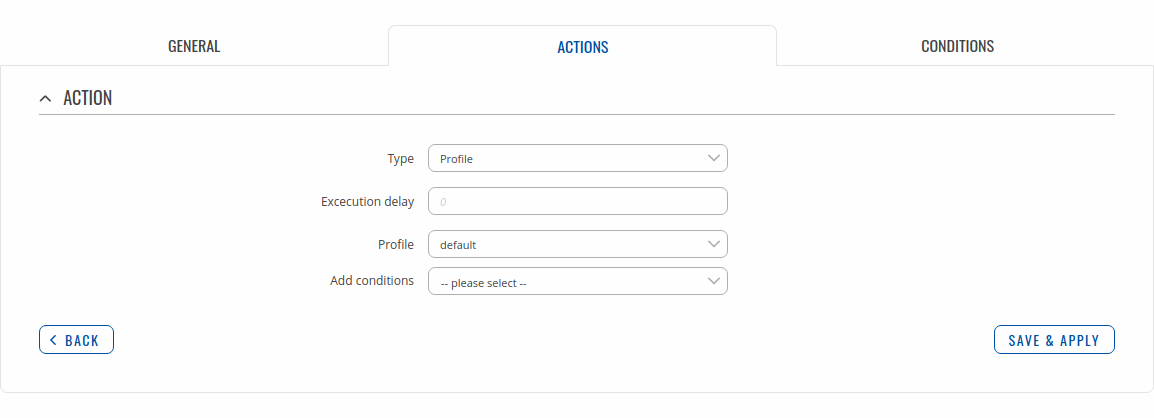
The Io juggler page is used create automated actions based on Input state and conditions.
General
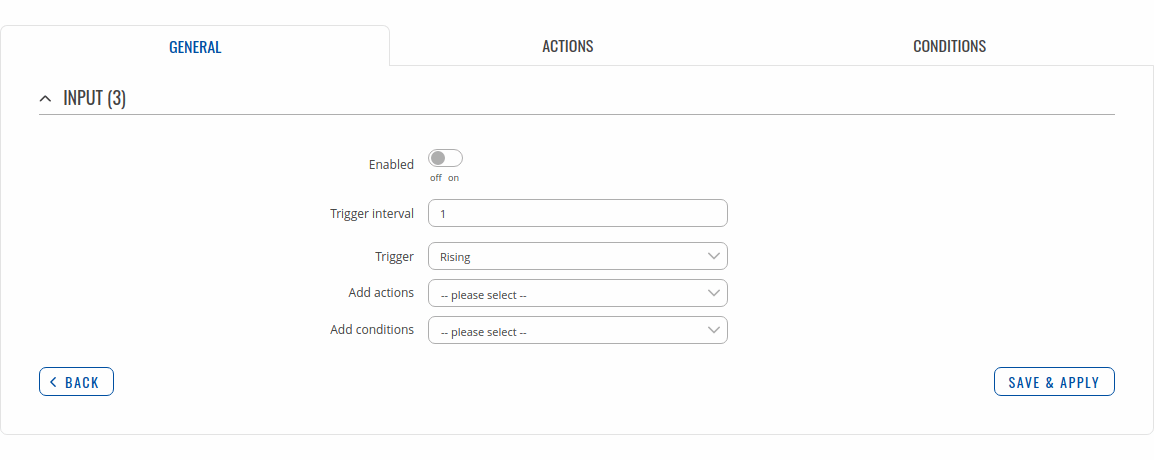
Modify Input configuration
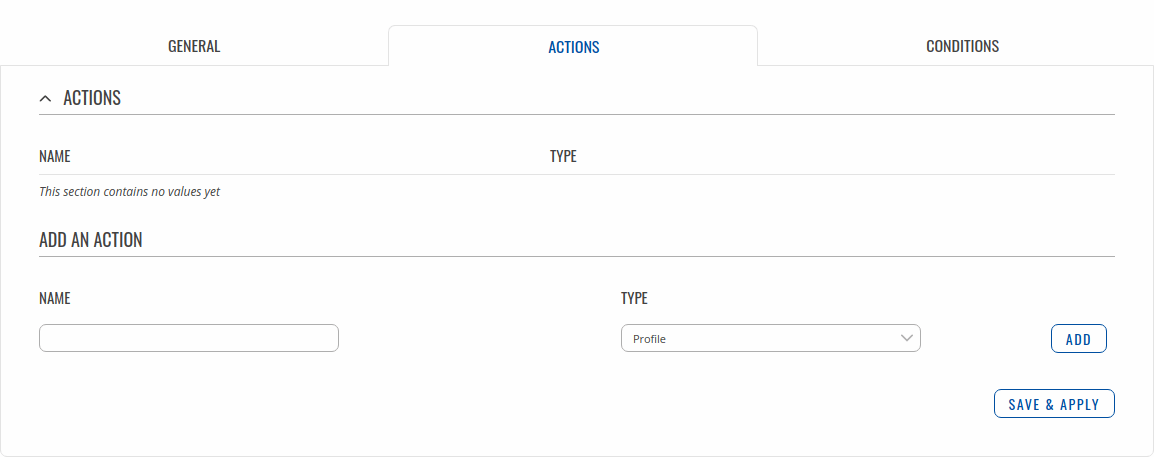
Actions
Modify action
Conditions
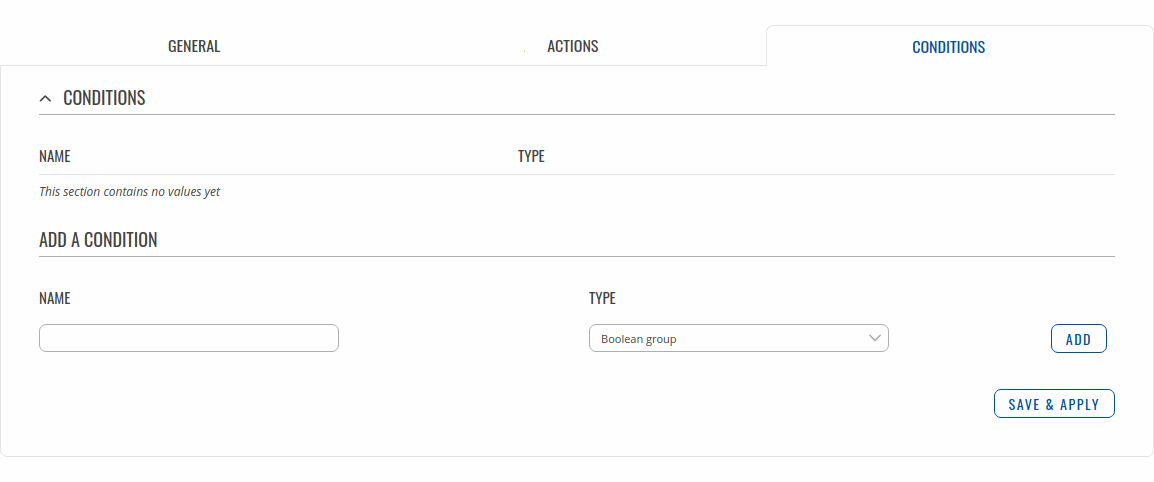
The Conditions section lets you manage your created Conditions for IO Juggler Actions. The figure below is an example of Conditions section.
Modify condition
Table below provides information on the fields contained in this section:
[[Category:{{{name}}} Services section]]


