HTTPS Warning removal
Summary
One of the main benefits of HTTPS is that it adds security and trust. It protects users against man-in-the-middle (MitM) attacks that can be launched from compromised or insecure networks. Hackers can use such techniques to steal your sensitive information. Implementing SSL secures any data transmitted between server and browser during a user's session interacting with your device.
This page contains links with description all of WebUI windows. If you're having trouble seeing all the pages listed here on your WebUI, you may need to turn on "Advanced WebUI" mode. You can do that by clicking the "Basic" button under "Mode", which is located at the top-right corner of the WebUI.
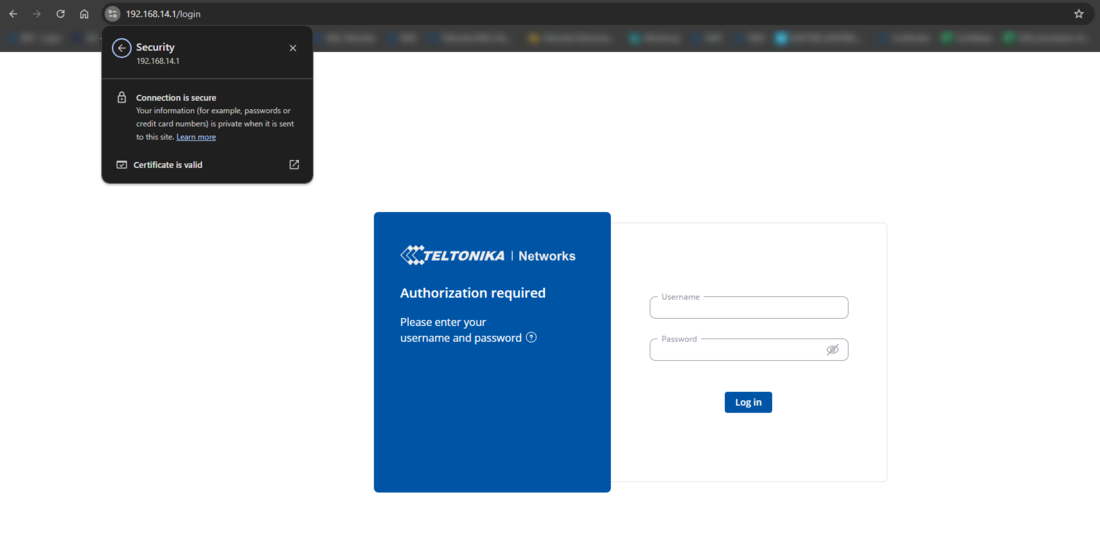
For accessing the device WebUI using HTTPS requires a certificate, else the browser will be showing the error listed below:
Generating the certificates
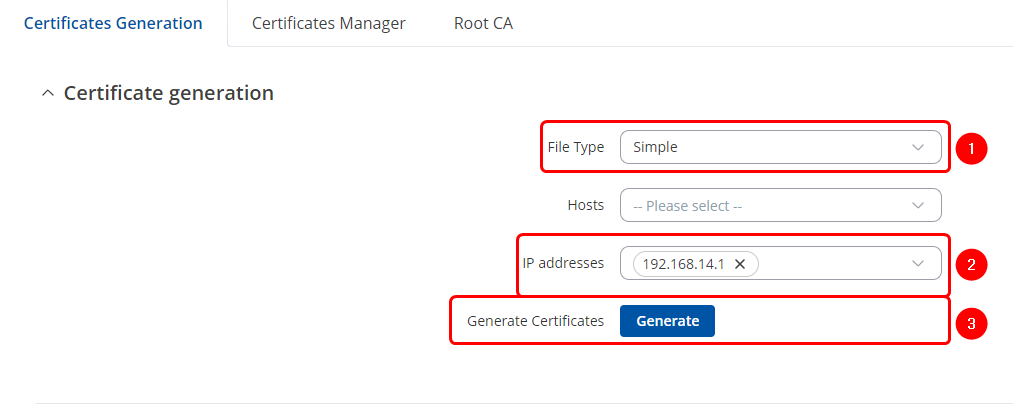
The certificates can be signed and generated using our device. To do this, head to System → Administration → Certificates. In the certificates generation tab select these settings:
- File type – Simple
- IP addresses – 192.168.14.1 (the IP address of the device that is used for WebUI access)
- Click on the generate button.
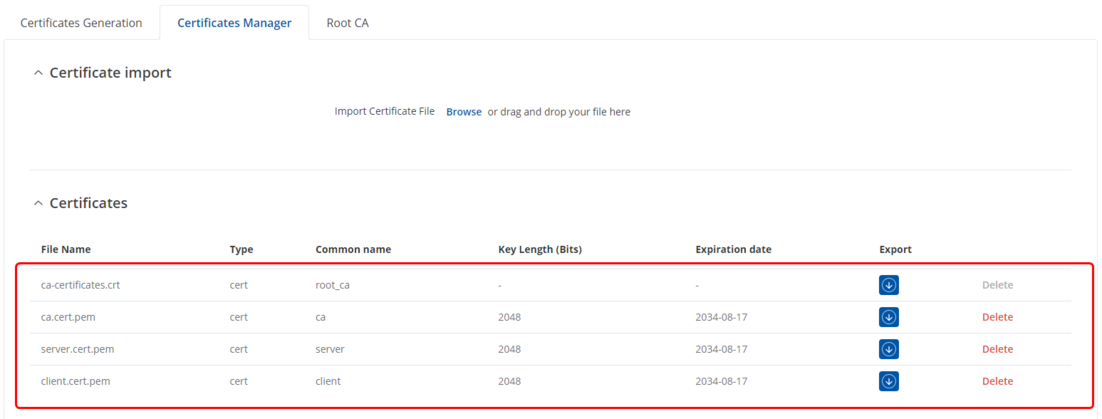
After the certificates are generated, you can find them by opening Certificates Manager tab.
In this tab, you will be able to find and download if necessary all of the available certificates in your device altogether with the ones we recently generated.
Applying certificates to the device
After the certificates are generated, navigate to System → Administration → Access Control.
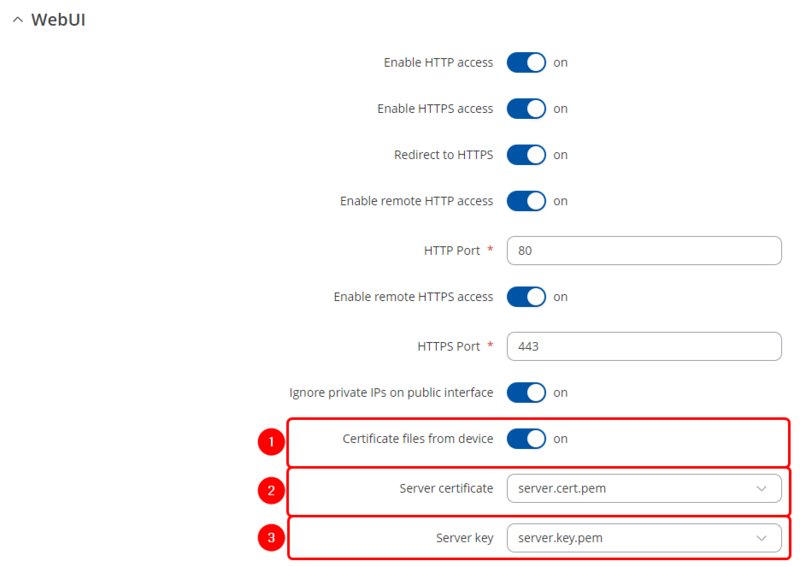
In the WebUI section make these selections:
- Certificate files from device – Enable
- Server certificate – server.cert.pem
- Server key – server.key.pem
Note: make sure you are using previously generated certificates
Uploading CA on Windows PC
The CA certificate must be imported to either the operating system of the computer or the web browser.
First, you need to download a CA certificate from "Certificates Manager" that is located on your Teltonika device.
To upload a CA certificate on a Windows-based PC follow these steps:
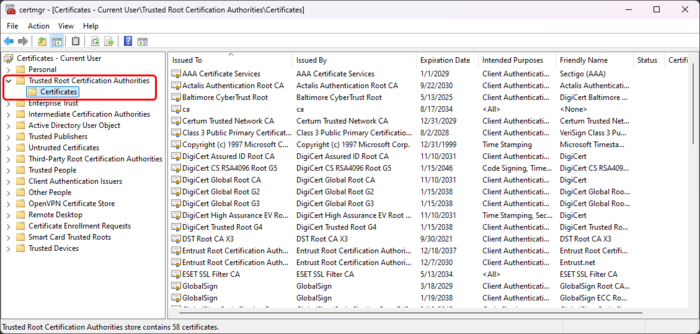
In the device search bar, enter Manage User Certificates and open the service.
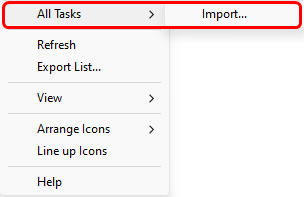
Navigate to Trusted Root Certification Authorities → Certificates in the Certificates - Current User tab, then click on Action tab and import your certificate by selecting All tasks → Import.
Once all the steps are completed and the certificate is imported, you should no longer get the warning while using HTTPS protocol while reaching your device via WebUI.


