RUT956 SD Card
This chapter provides a description on how to correctly insert a SD card into a device.
The information in this page is updated in accordance with firmware version .
Compatibility
Before installation, make sure your SD card is compatible with devices:
- Maximum supported (tested) SD card capacity is 2TB.
- Supported (tested) formats are: FAT32, NTFS, ext2, ext3, ext4.
- SD cards with a fixed 1.8V voltage are not supported. Make sure your memory card supports 3.3V by referring to manufacturer's documentation.
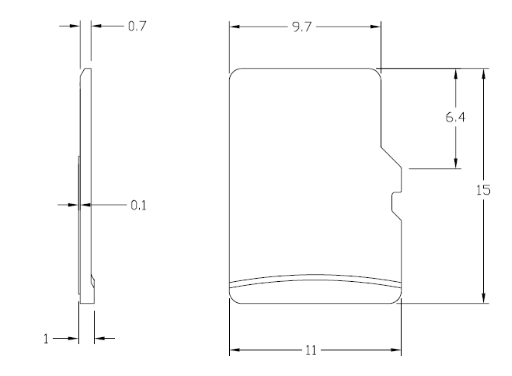
- The device is compatible only with microSD size memory cards.
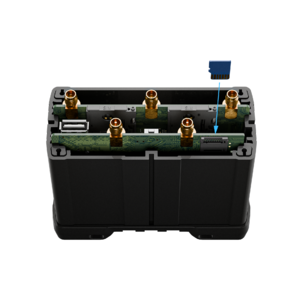
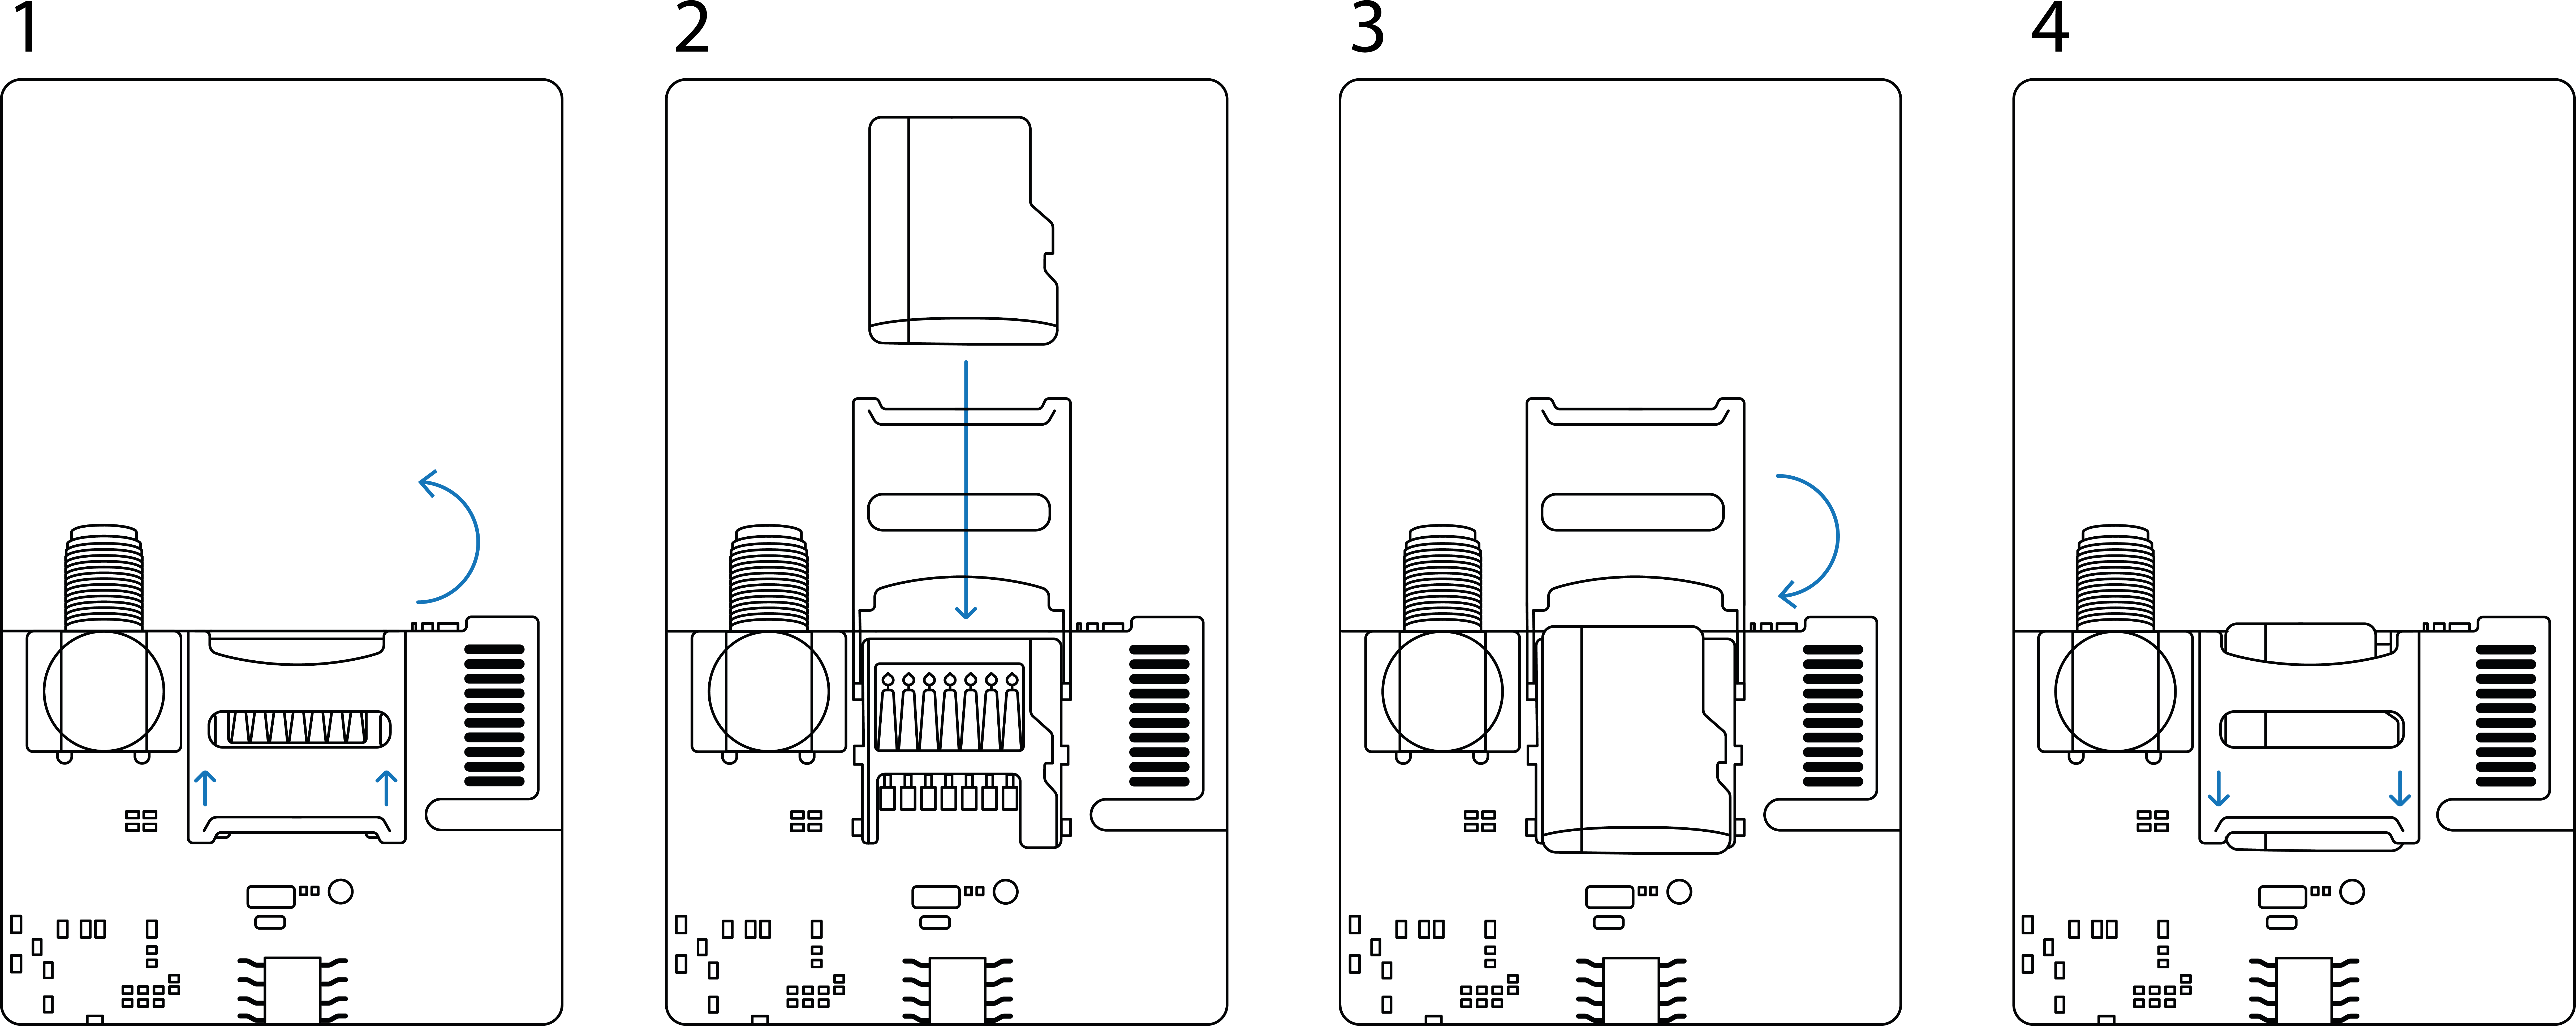
Installation
Make sure device is powered off before inserting SD card!
Results
Once device is booted up with an SD card installed, you can confirm it is recognized by navigating to USB Tools WebUI page. Under Mounted File Systems the SD card should be visible:
You may now use various functionality found in USB Tools with the SD card instead of a USB device.
If you are having trouble with the device recognizing your SD card, please refer to the Troubleshooting section below.
Troubleshooting
- Double check the SD card is compatible with devices.
- Make sure the SD card is not corrupted. We recommend formatting it before first installation.
Formatting SD card using device
If you are unable to format the memory card using other means, it is possible to do it directly on device.
Pre-requisites
- Device must have WAN access.
- SD card must be recognized by the filesystem.
Procedure
- Connect to device's CLI.
- Use command
ls /dev/ | grep mmcto display recognized memory cards: - Once confirmed the SD is recognized, we may start the formatting procedure:
- Run commands
opkg updateandopkg install e2fsprogsto download required tools. - Unmount the SD card with command
umount /dev/mmcblk0p1 - Start formatting with command
mkfs.extX /dev/mmcblk0p1where X is either 2 (for ext2 format), 3 (for ext3 format) or 4 (for ext4 format). - A successful format procedure should look like this:
- Reboot the device and refer to Results section
root@Teltonika-:~# ls /dev/ | grep mmc

mmcblk0

mmcblk0p1 ← SD card
root@Teltonika-RUT955:~# mkfs.ext2 /dev/mmcblk0p1

mke2fs 1.45.6 (20-Mar-2020)

/dev/mmcblk0p1 contains a ntfs file system labelled '64gb'

Proceed anyway? (y,N) y

Creating filesystem with 15132670 4k blocks and 3784704 inodes

Filesystem UUID: 6053673b-d6b0-420d-84da-0669b71a5211

Superblock backups stored on blocks:

	32768, 98304, 163840, 229376, 294912, 819200, 884736, 1605632, 2654208,

	4096000, 7962624, 11239424


Allocating group tables: done

Writing inode tables: done

Writing superblocks and filesystem accounting information: done
Note: The Writing inode tables section might take a long time depending on the size of your SD card (10+ minutes with 64GB SD).


