HTTPS Warning Removal With Encrypted Certificate
Introduction
Using encrypted certificates is important for keeping online communication safe. They help protect data from being stolen or accessed by unauthorized people. Certificates also verify the identity of websites, so users know they're connecting to a legitimate site. In a time when online security is a big concern, these certificates play a key role in keeping personal information secure.
Certificate generation
In order to generate an encrypted certificates with a Teltonika device, you will need to create a DDNS instance. In this example, we are assuming that the DDNS is already set up. If you need information on how to create a DDNS instance on your device please refer to this article: Noip.com DDNS configuration
To generate an encrypted protocol, navigate to System → Administration → Certificates and select these settings:
- File type – Let’s encrypt
- Domain – Enter your created Dynamic DNS domain name
- Automatically renew – On
- Click on Generate button.
Applying Certificate
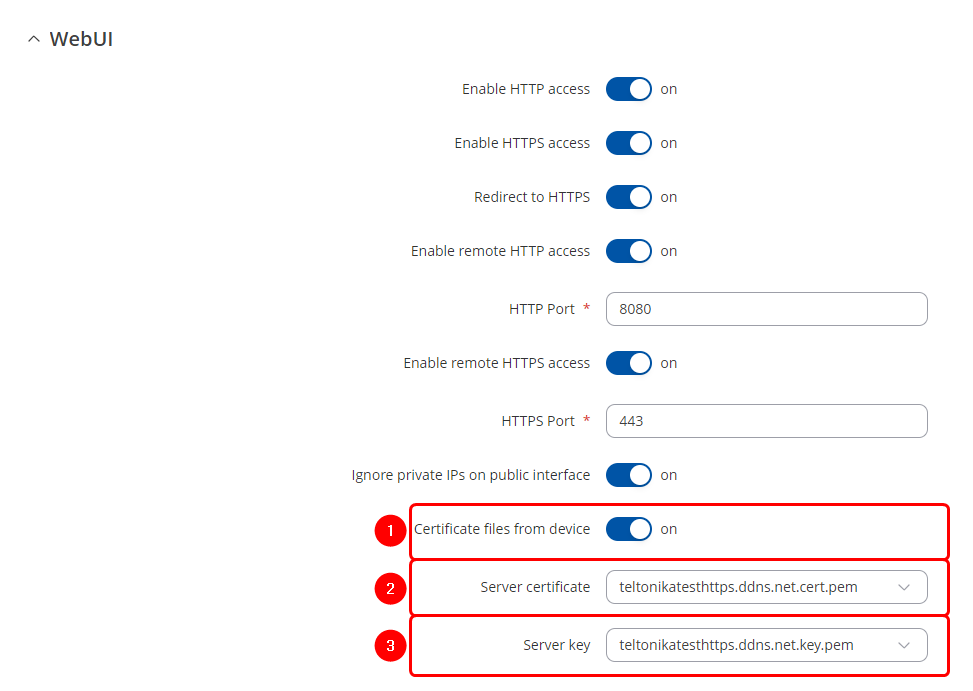
Navigate to System → Administration → Access Control and make following changes on WebUI tab.
- Click on Certificates files from device.
- Select your recently generated encrypted server certificate.
- Select your recently generated server key.
- Click on Save & Apply.
Testing
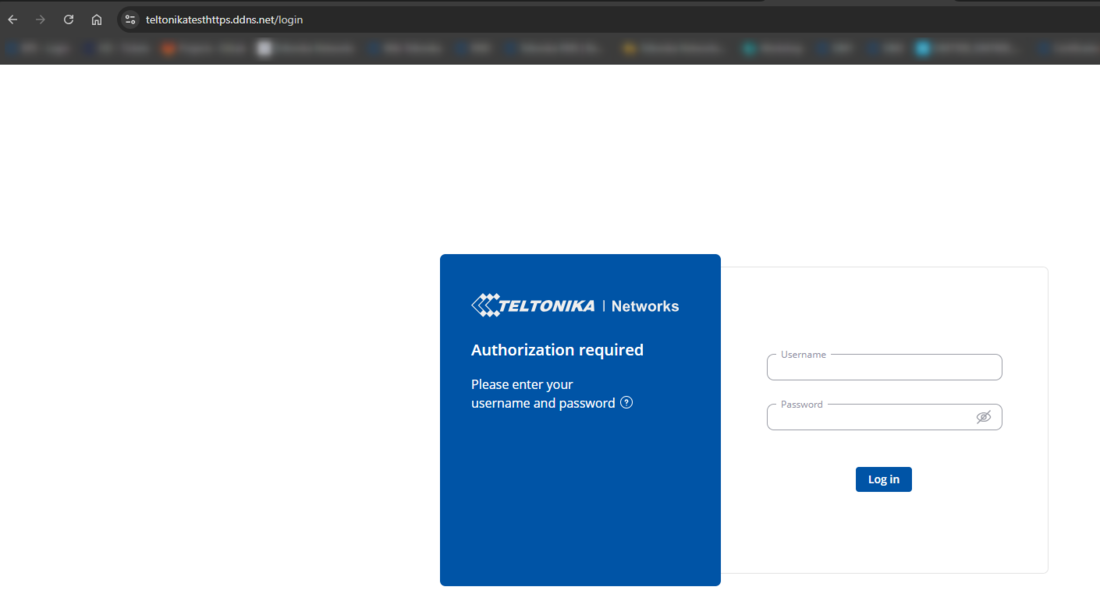
If all of the mentioned steps were made correctly, you should no longer be able to see the warning sign while accessing the device WebUI via HTTPS protocol.


