Template:Rms manual reports add new
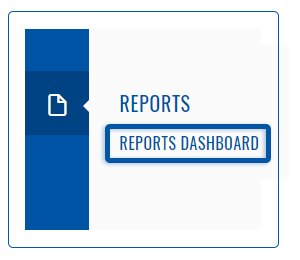
To generate a report go to the RMS web page, left sidebar panel, Reports and click on Reports dashboard tab (Reports → Reports dashboard).
Single reports
Single (one time) - generates a single report for the selected period. Report(s) are generated manually by user input.
Important!
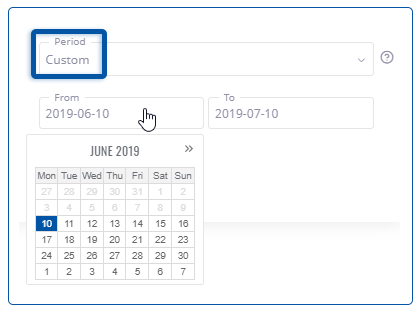
- Using custom period you can generate a report for a custom period of time.
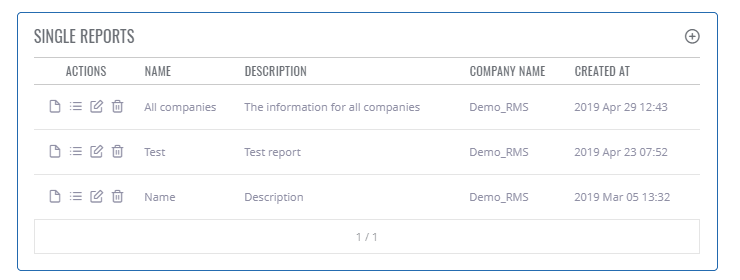
Below is an image showing single reports table.
Periodic reports
Periodic - generates reports periodically at the specified frequency (period). Report(s) are generated automatically.
On top of the screen you will find a number of currently active periodic reports.
File:RMS-active-periodic-reports.png
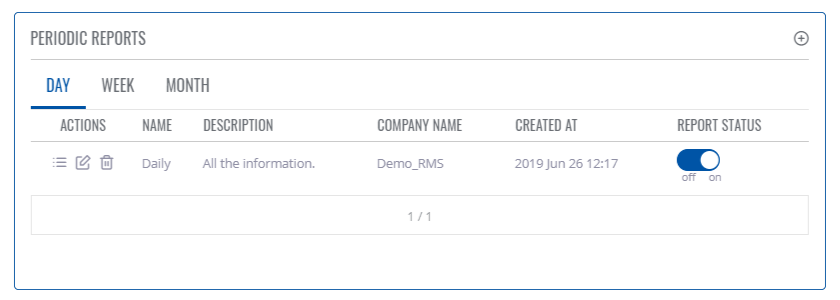
Below is an image showing periodic reports table.
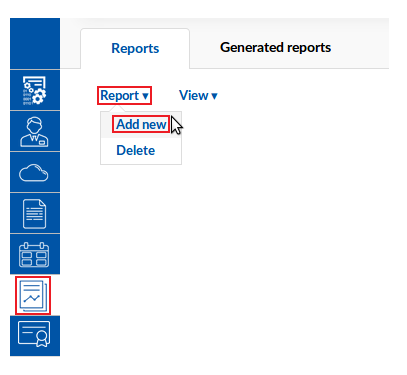
The Add new function is used to generate new device parameter reports.
- Scroll your mouse pointer to the Report submenu (Reports → Reports → Reports) and click "Add new":
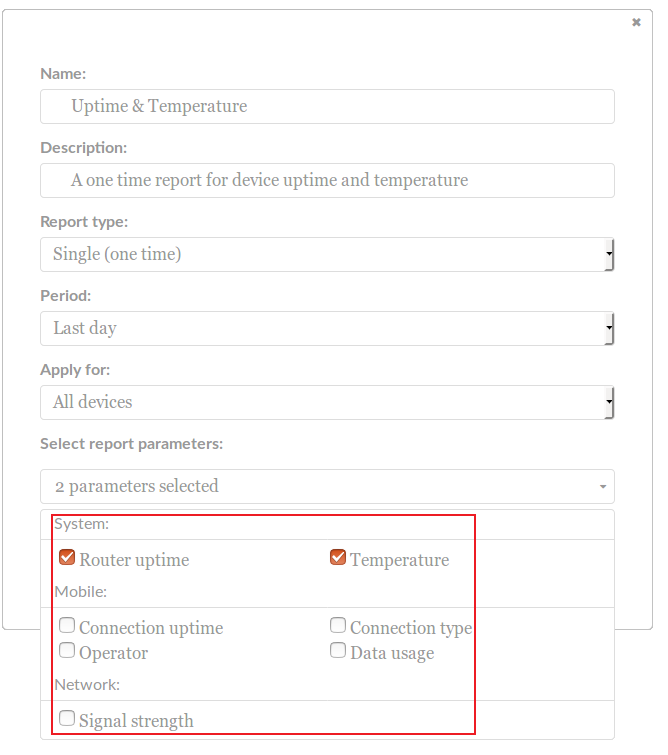
- You will be met with a pop-up where you can customize your report. Descriptions provided below:
- If you choose Periodic Report type, the "Send report information email" option will become available. If you place a check mark next to it, additional email configuration fields will become visible. An automated program will login to an email account with the information that you provide at the specified frequency (Period) and send a report to the specified recipient. An overview of this configuration is provided below:
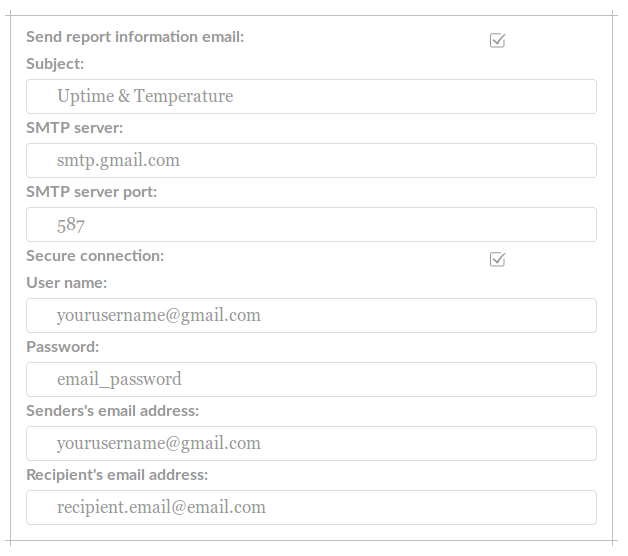 |
|
* the example provided above pertains to Google's Gmail provider. If you're using a different email provider, you can easily look up their SMTP information online.
** the provided login information will be used by an automated program to login to your email account. Many providers detect this and prevent connection for security reasons. Therefore, it may be necessary to make some exceptions in your email account's security options for this function to work.
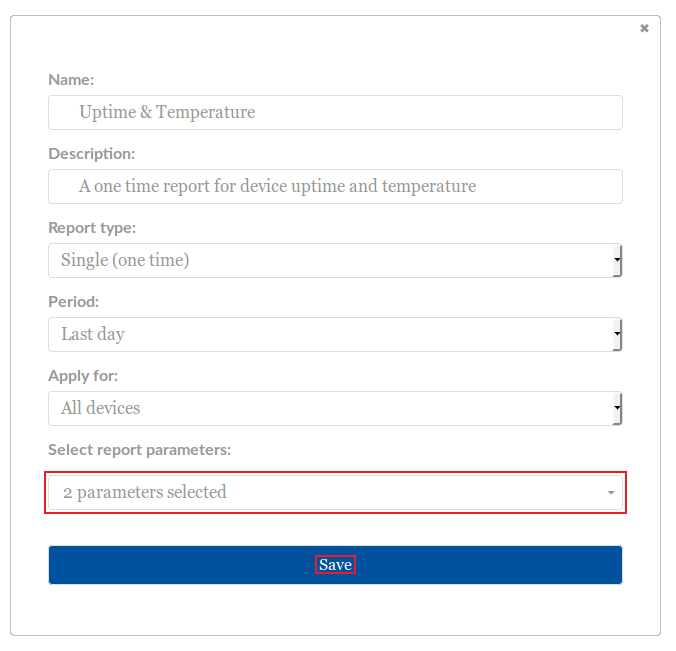
- When you are done you you will see an indication of the number of parameters that will be included in the report. If everything is in order, click "Save":
- The newly generated report will become visible in the Report table. To view it, click on the "PDF file" icon located under the "Action" column next to that report's exntry in the Report table:
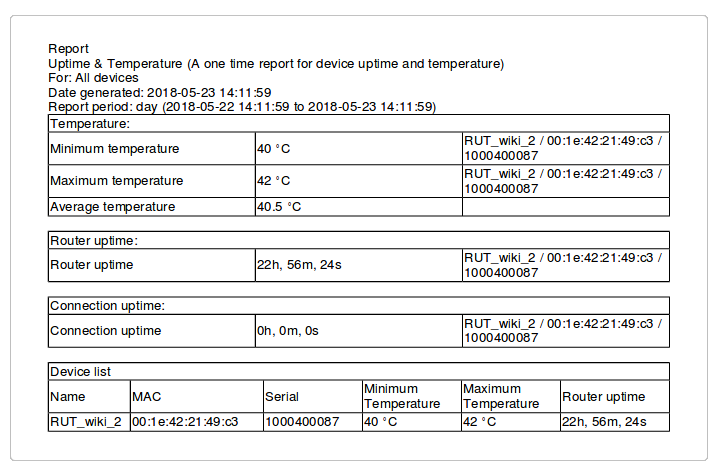
- The generated report should look something like this:

