Remote access to Cisco router using RMS
Summary
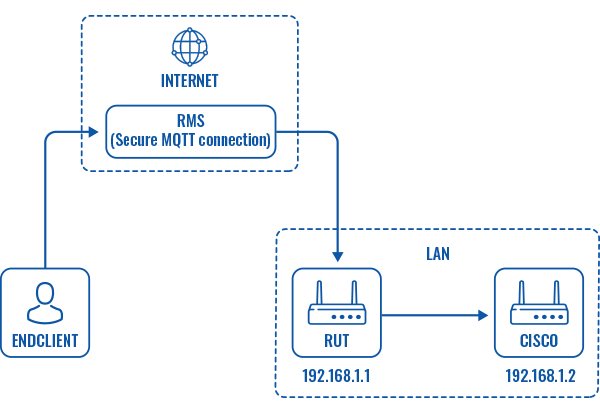
Access feature enables to access and manage other network devices connected to Teltonika networking devices via RMS. If your Teltonika device is on RMS, it can be used to generate remote access links to equipment that is connected to its private network. RMS provides clients with two options of remote access: WebUI and CLI, which are secured using secure MQTT connection. More information about remote access: Actions->Access
Overview
You will need
- RUTxxx series router (except RUT850) connected to RMS;
- Cisco router;
- End device;
Topology
WEBUI
1. step Login to RMS
First, you should log in to RMS account, find your your device in overview. Then press device details icon, marked down below:
2. step Locate actions->access option
In top of the screen you should see Actions dropdown button, move your mouse pointer to the Top control Actions menu and select Access (Actions → Access).
3. step Configure device access
Here we should name our device, specify destination IP and port to which we desire to connect. In our case, we will use HTTPS protocol for WebUI access, ticking HTTPS option is required.
4. step Adding LAN device
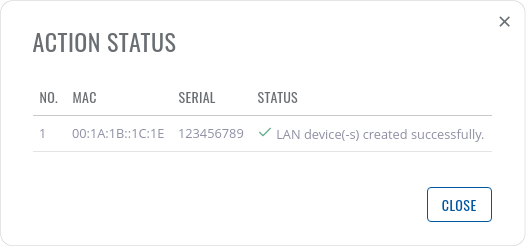
After saving your configuration action status window will appear, which inform that your LAN device for remote access is added.
5. step Navigating to LAN devices widget
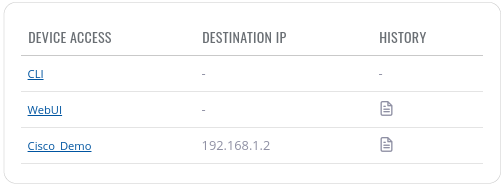
All added LAN devices could be seen in the bottom of the screen. Just click on the added device's name.
6. step Device link generation
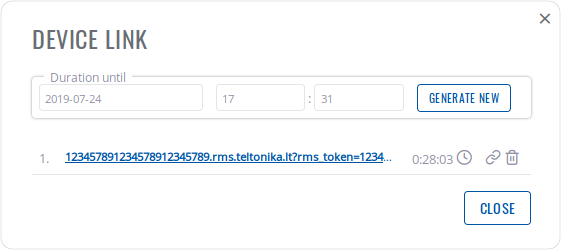
Device link window lets you generate access links for desired amount of time. You can copy remote device's link by pressing chain icon and save it for later or simply access device by clicking on the link.
7. step Cisco login
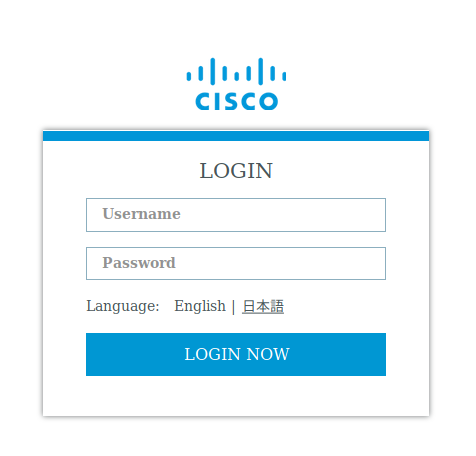
Now you can log in to your networking device.
CLI
1.step Login to RMS
First, you should log in to RMS account, find your your device in overview. Then press CLI icon marked down below:
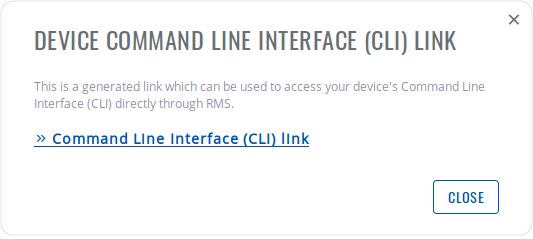
Here you should click on the generated link.
2.step Connecting to Cisco using SSH
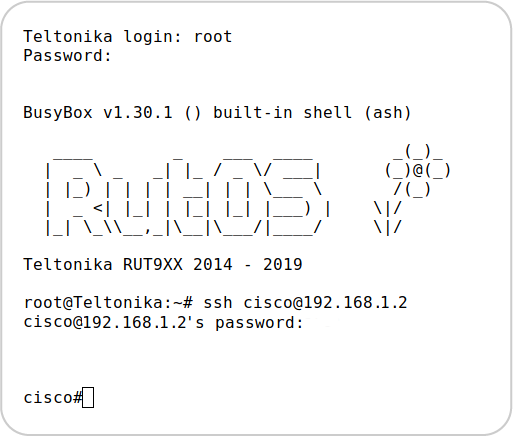
CLI is similar to the Linux Terminal program. To login just type in the router's admin username (default: root), press enter and then type in the router's password, you should be greeted with a window similar to the one seen below. After you have logged in you can execute command: ssh [email protected] . Now you can execute commands in cisco secure shell.
Important note: Cisco router should be preconfigured to be accessible in private network via SSH.

