Dynu.com DDNS configuration
Revision as of 10:11, 30 January 2018 by Akademija (talk | contribs) (→Step 1. Dynu DDNS configuration)
Step 1. Dynu DDNS configuration
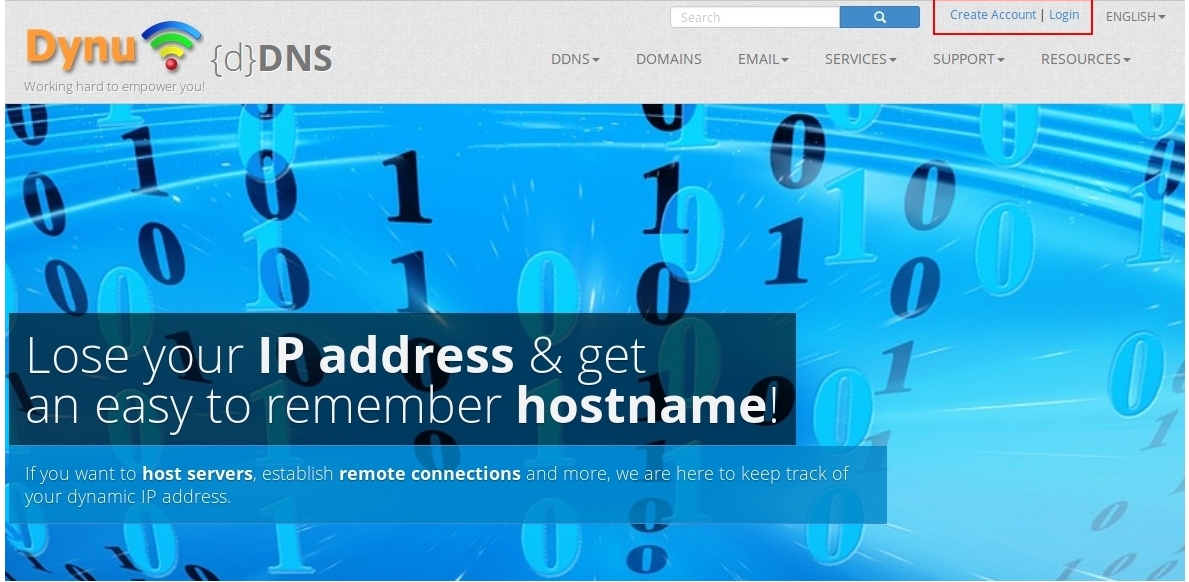
First of all we need to visit DDNS provider website - https://www.dynu.com, once we are here we have two options: create new user or use existing one.
If you want to create new account click "Create Account"
After successful account creation you need to Add new host
Adding new host
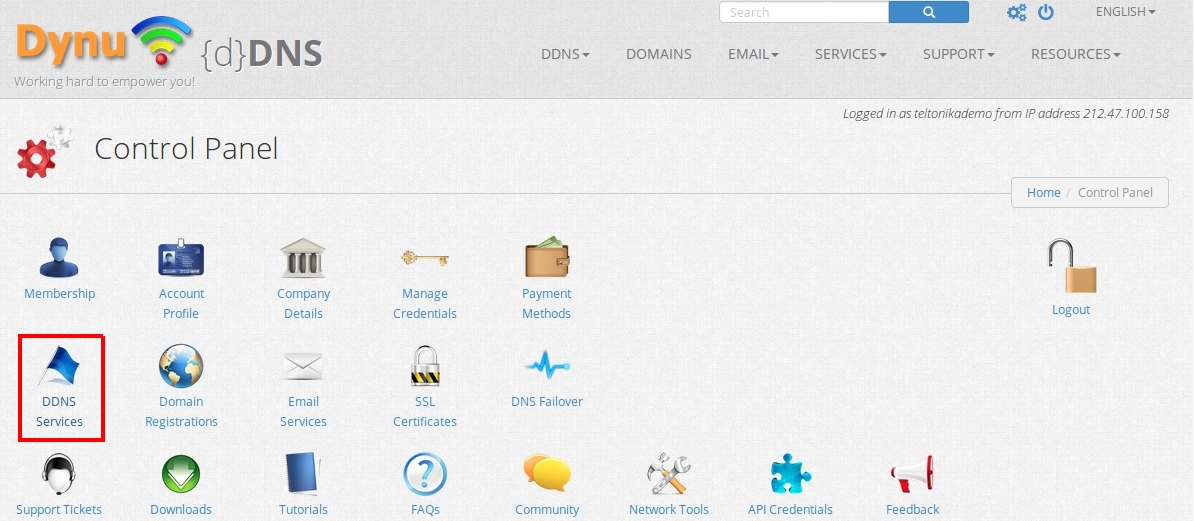
You need to click "DDNS services"
Then "Add"
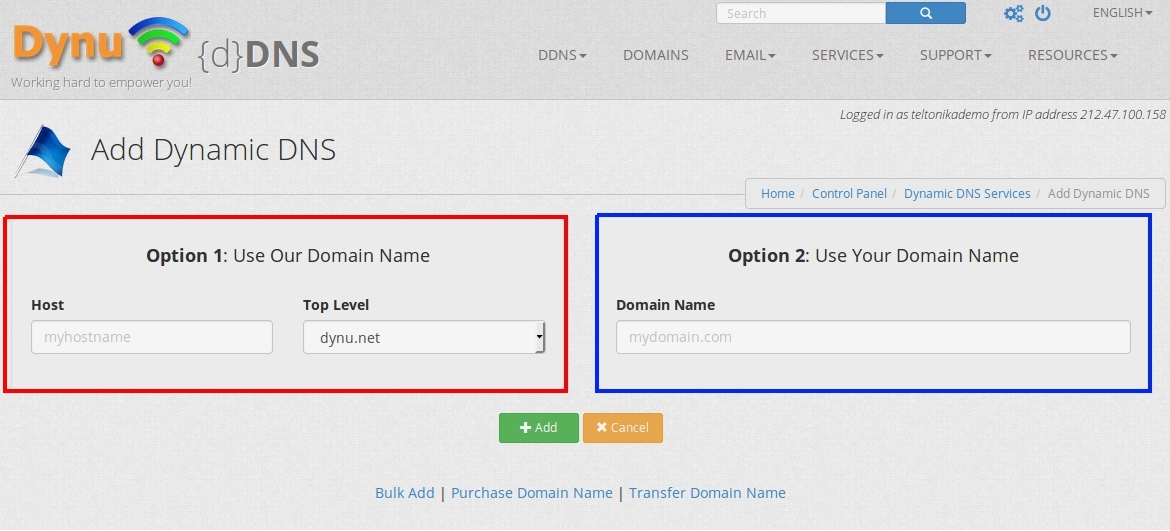
And finally you need to choose one of two options to use their domain name (red square) or your personal domain name (blue square) and click "Add"
After all these steps you should see this window this


