1NCE Configuration
From Teltonika Networks Wiki
Revision as of 11:03, 23 May 2022 by Tomas (talk | contribs) (Tomas moved page Draft:1NCE Configuration to 1NCE Configuration over a redirect without leaving a redirect)
Main Page > General Information > Configuration Examples > VPN > 1NCE Configuration
1NCE is the global Tier-1 IoT Carrier specialized in providing managed connectivity services for low bandwidth IoT applications.
Introduction
This article contains step-by-step instructions on how to set up Teltonika-Networks devices as 1NCE OpenVPN clients.
Prerequisites
- For OpenVPN to work with older than 00.07.2 firmware, it`s necessary to contact 1NCE for OpenVPN client password shorter than 129 bytes.
Downlowding configuration files
- Go to https://portal.1nce.com/portal/customer/login and log in.
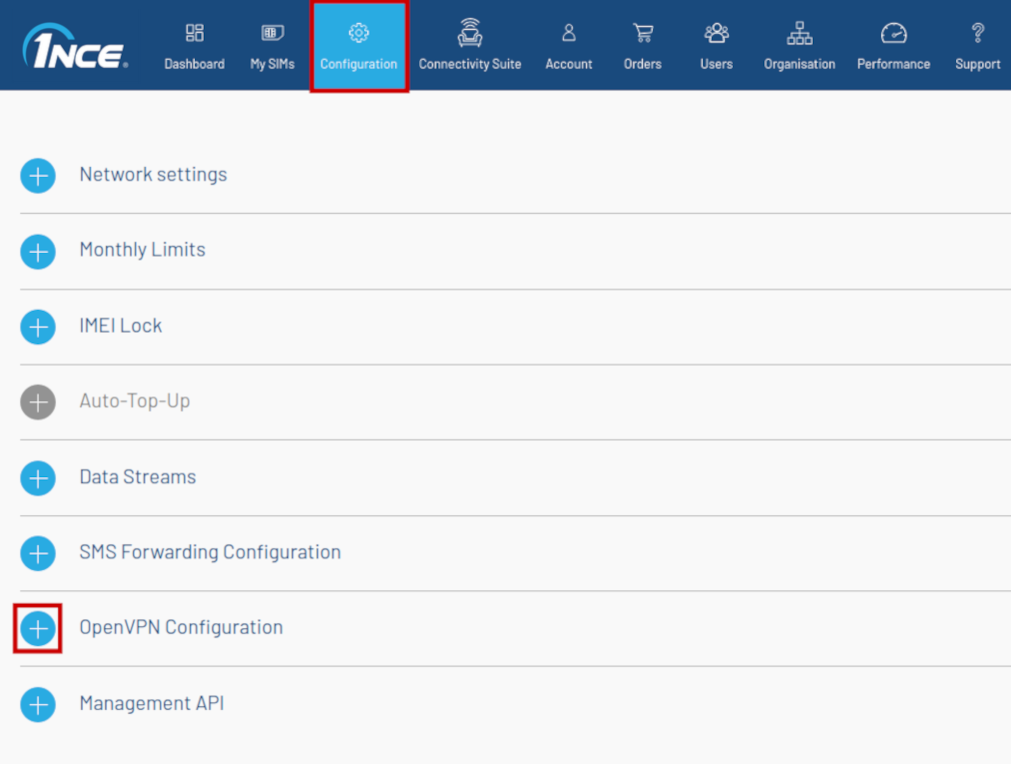
- Open the Configuration tab and click the on OpenVPN Configuration button.
- Select Linux/macOS operating systems.
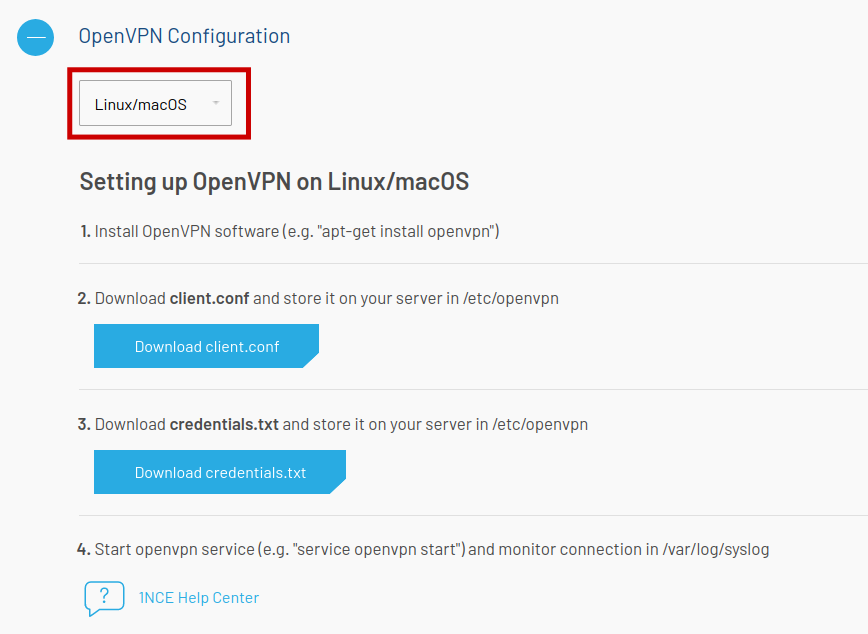
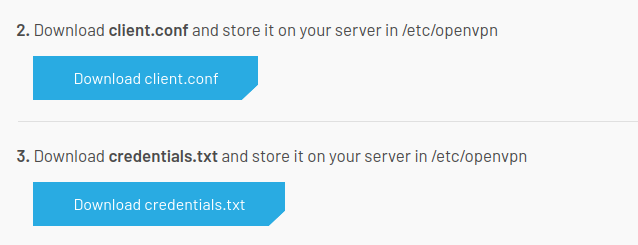
- Download client.conf and credentials.txt files.


Configuring a device
- Log in to your device's WebUI.
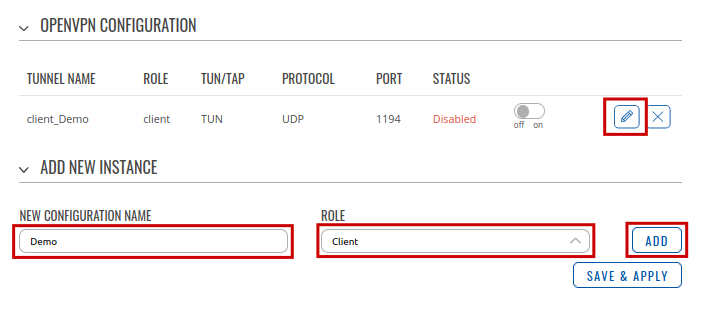
- Go to Services → VPN → OpenVPN and create new configuration by selecting role Clien, entering Configuration name and pressing Add button. New configuration should appear in a few seconds. Then press Edit.
- Configurate new instance.
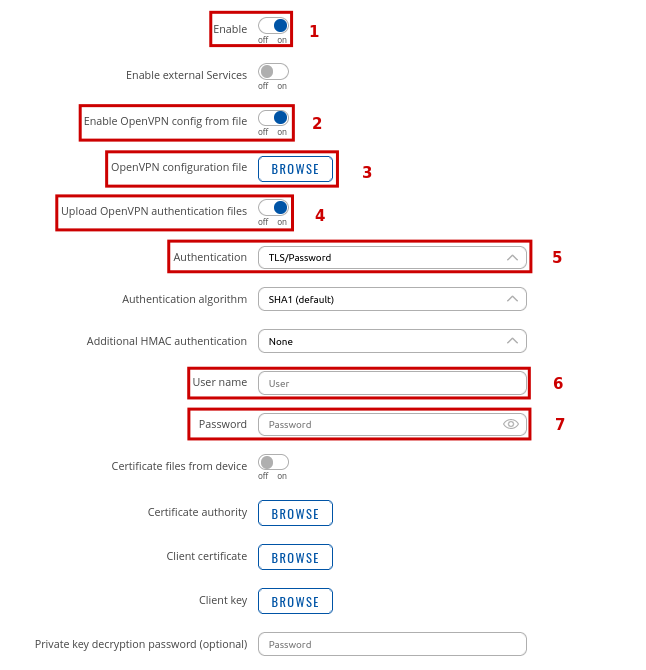
- Enable instance.
- Enable Enable OpenVPN config from file.
- Uploade 1NCE provided client.conf file.
- Enable Upload OpenVPN authentication files.
- Set Authentification to TLS/Password.
- Enter username. You can find your username on the first line in 1NCE provided Credentials.txt file.
- Enter password. You can find your password on the second line in 1NCE provided Credentials.txt file.
- Click SAVE & APPLY.


