Introduction
MQTT is a publish-subscribe based protocol messaging protocol designed for connections with remote locations where network bandwidth is limited. In MQTT, a secure connection between a server and client is achieved by implementing TLS (Transport Layer Security) as it uses a handshake mechanism where various parameters are negotiated. This article provides guideline on how to secure an MQTT connection using TLS.
Prerequisite
The following prerequisites make it possible to achieve the desired outcome, which is creating a secure MQTT connection using TLS.
- One RUTxxx device
- A computer for running applications.
- Modbus Server and MQTT subscriber application (for this example modRSsim2 and MQTT.fx v1.7.1 applications were used)
Topology

Configuring Modbus TCP/IP Client
For this example, we will use the router as the Modbus TCP Client that will be requesting data from Modbus TCP Servers
- Turn on “Advanced WebUI” mode

- Navigate to Services → Modbus → Modbus TCP Client
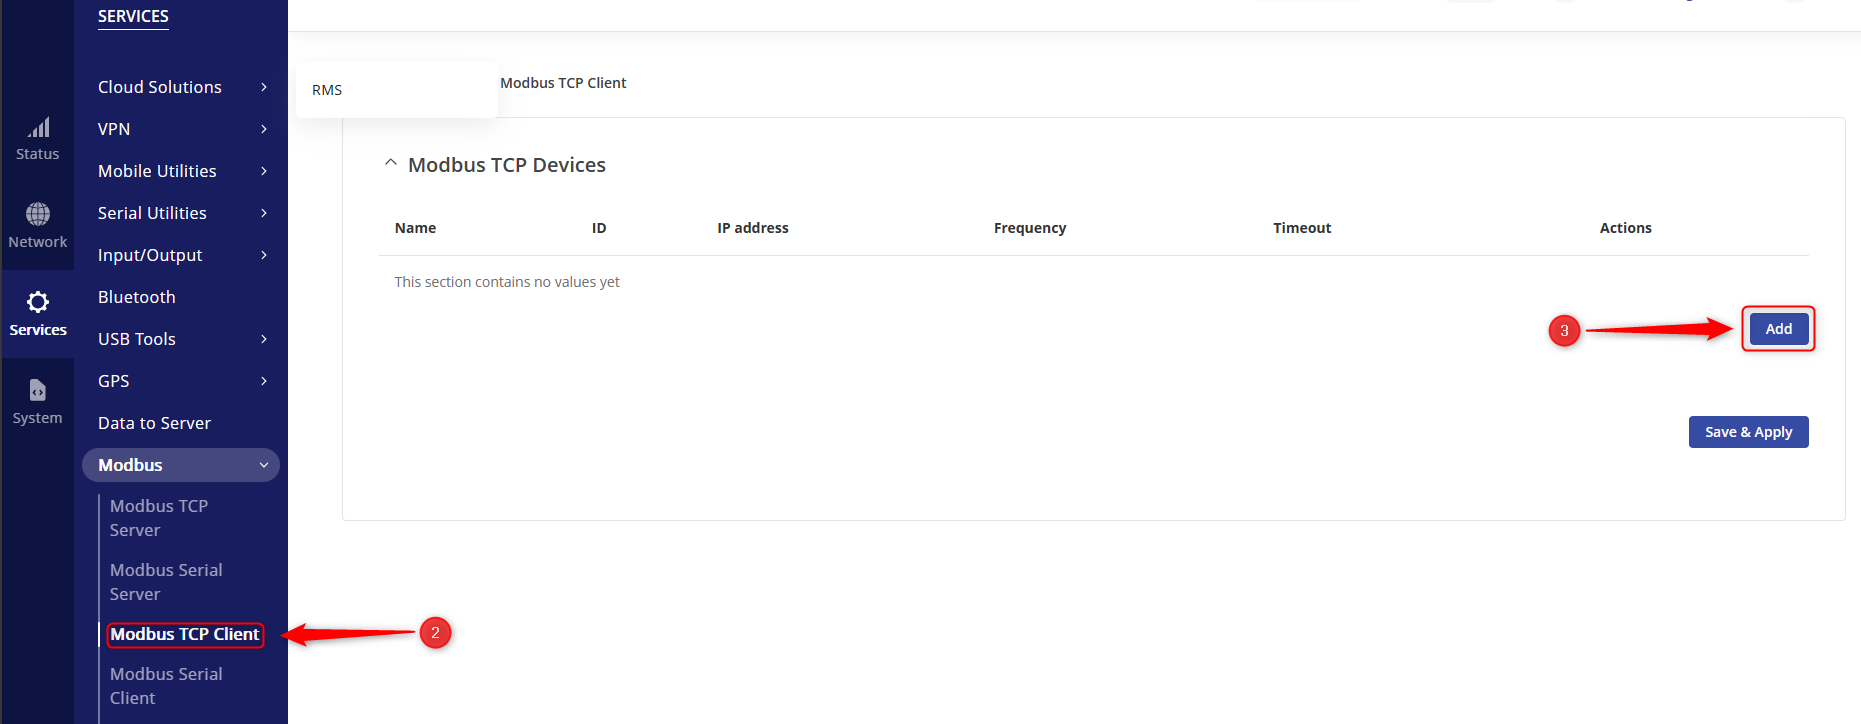
- Click “Add” to add a new Modbus TCP Client
- Enable the Modbus TCP Client Configuration and enter the “Name, Server ID, IP Address, Port”. Note: Server’s ID, IP Address and Port should be the same as configured in the client device.
- Click “Save” and the slave device will be added.


Testing
To test whether the functionality is working, we can add a Modbus request to obtain data from the Modbus server. The client sends a request to a specifying the function code to be performed. Then the requested data is sent back to the Client. A maximum of 64 request configurations for each device can be created.
- Click “Edit” button in client device’s configuration.
- Type the name of the request followed by clicking the “Add” button in Requests Configuration section to create a new request.
- Specify the “data type, function, first register, number of registers” and ensure that the request is enabled.
- Click “Save & Apply” to save the changes.
- Click “Edit” button
- Select the request under “Request Configuration Testing” and click to “Test”.
- The server device will return the requested data.
Generating TLS Certificate
To secure an MQTT connection using TLS, we need to generate certificates and for this example, the certificates will be generated from the device.
- Navigate to System > Administration > Certificates.
- Click on “GENERATE”
- Navigate to the next tab CERTIFICATES MANAGER
- Download the highlighted certificates: ca.cert.pem, client.cert.pem, ca.key.pem and client.key.pem to your Windows 11 Computer for easy upload to the MQTT client.
Configuring Data to Server
The Data to Server feature provides the ability to set up data senders that collect data from various sources and periodically send it to remote servers. For this example, we are going to follow the steps below.
- Access the router’s WebUI and navigate to Services > Data to Server.
- Click “Add” to add a data sender.
- Select Modbus in the Type area.
- Select Json in the Format type.
- Click on the NEXT: COLLECTION EDIT BUTTON
- Click on enable.
- Choose the Json format in format type.
- Click on ADVANCED SETTINGS.
- The settings should be Period:60, turn on the Retry option, retry count:10 Timeout:1 and then click on Next: Server configuration.
- Select type to MQTT and fill in the details as so. Turn on the TLS, and certificates from device and choose the client certificates.
- Navigate to Services>MQTT>Broker and fille in the settings as so and turn on TLS and turn on the certificates file from device.
MQTT Configurations
Configuring MQTT Client
For this example, we are going to use MQTT.fx v1.7.1 application to securely connect to the MQTT broker, in this case, the router, and subscribe to a topic.
- Open MQTT.fx and click the settings button to create a new profile.
- Click “+” to create a new profile.
- Enter the “Profile Name”, “Profile Type”, “Broker Address” and “Broker Port”.
- Tick the “Enable SSL/TLS” check box under “SSL/TLS” section, ensure that you select the appropriate protocol, select “Self-signed certificates”, upload the certificates, and select the “PEM Formatted” checkbox.
- Click “Apply” to save the changes and “Ok” to close the configuration window
- Click “Connect” to establish connection to the MQTT Broker. Upon successful connection the status should change from “grey” to “green”
- Navigate to the “Subscribe”, enter the topic that you wish to subscribe to and click “Subscribe”. You should see data coming from the server showing that there has been a successful secure MQTT connection using TLS.