N3uron Notifier
N3uron is a modern and universal IoT platform specializing in data collection.
Introduction
This article contains instructions on how to:
- Install N3uron software on a windows operating system
- Configure SMPP Notifier on N3uron platform (node)
- Configure SMPP server on RUT device.
Prerequisites
You will need:
- A Teltonika device which supports SMPP service and has internet connectivity
- An end device to host a N3uron node
N3uron software installation
This example covers installation process for Windows operating system.
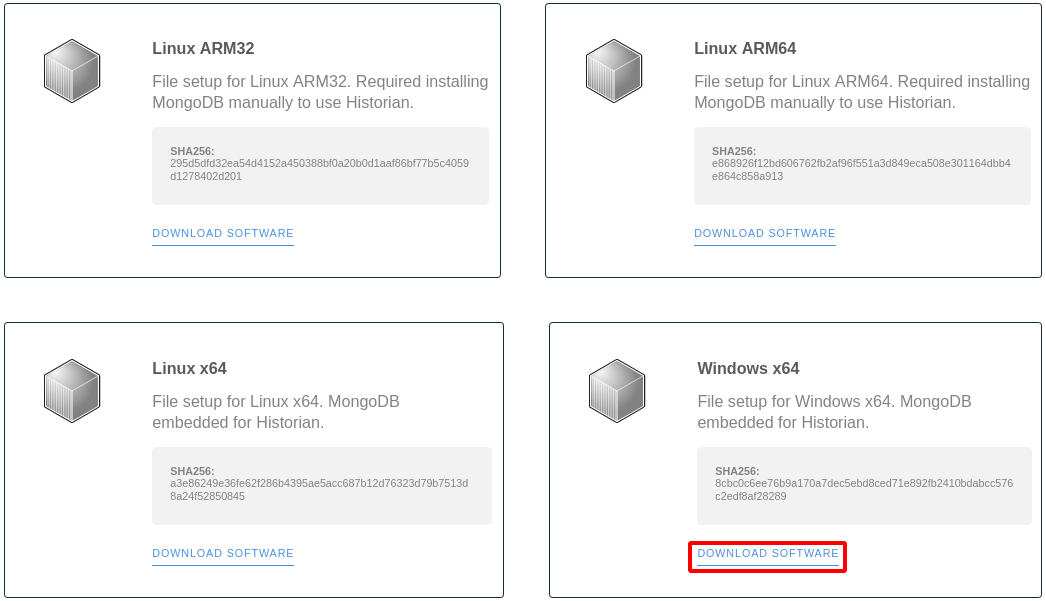
- Visit https://n3uron.com/downloads-software/ and download N3uron software suited for your operating system.
- Extract downloaded archive, run the installation file and proceed through installation steps.
- After arriving at Select components step, check Notifier: Mail (SMTP) and SMS (SMPP) tag event and alaram notifications component and press Next.
- Press Install button and wait for installation process to finish.
- After arriving at the final step, keep all boxes checked and hit Finish.
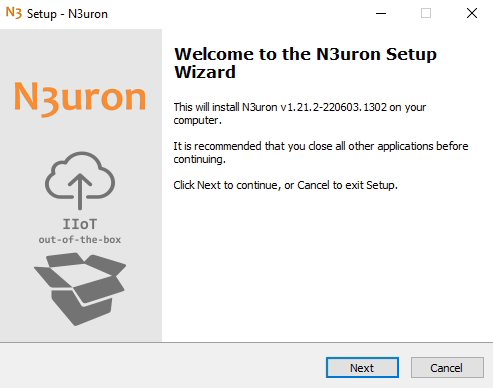
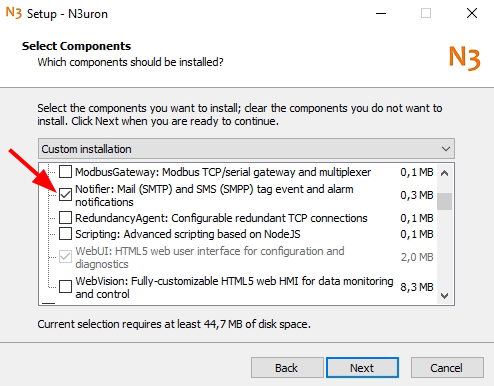
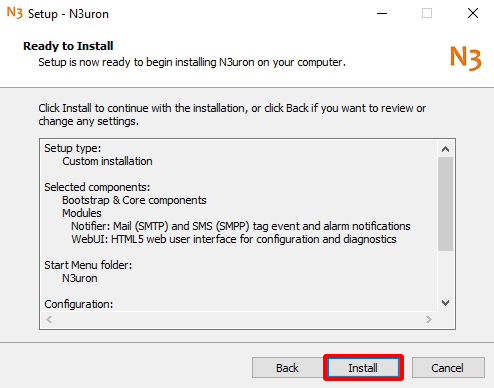
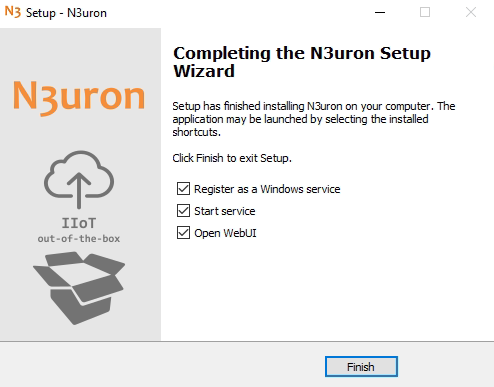
If everything was done correctly you should have N3uron service running. You should also have N3uron node login web page in front of you.
N3uron SMPP Notifier configuration
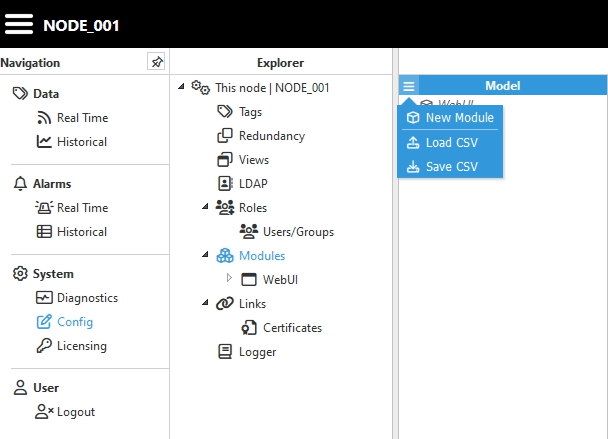
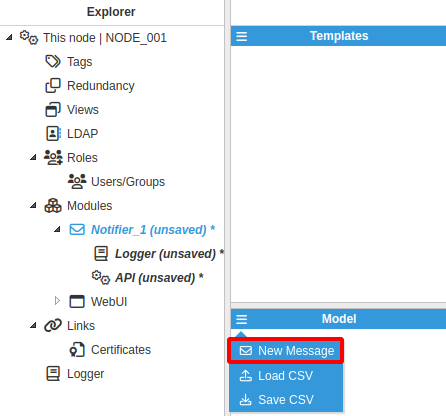
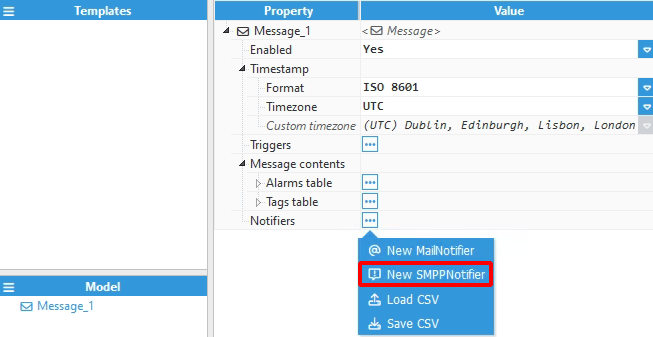
N3uron node is managed through web interface by visiting http://localhost:8003 or https://localhost:8443/ URLs.
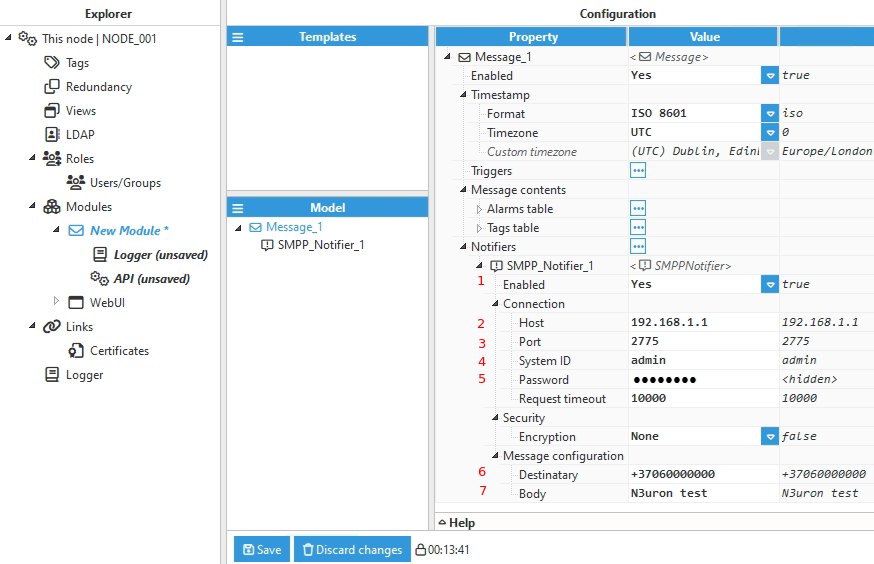
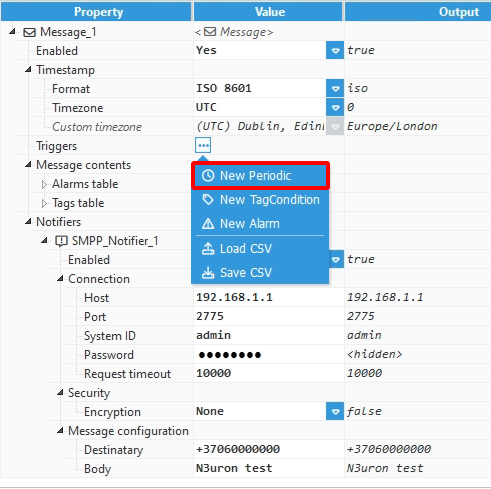
- Enabled - enable the notifier by selecting Yes value.
- Host - host of the SMPP server. In this case it will be RUT (public or private) IP address.
- Port - port that will be used by the SMPP server. Default value is 2775.
- System ID - this property specifies the username for SMPP server authentication.
- Password - password used for SMPP server authentication.
- Destinatary - enter cell phone number of the recipient.
- Body - this body permits to include a text in the message.
Apply changes by pressing ![]() button.
button.
The final step is to add a trigger for SMPP Notifier. For simplicity a periodic trigger is configured.
- Set Scan rate to desired period in milliseconds. Default value can be used.
- Change Type to Fixed interval.
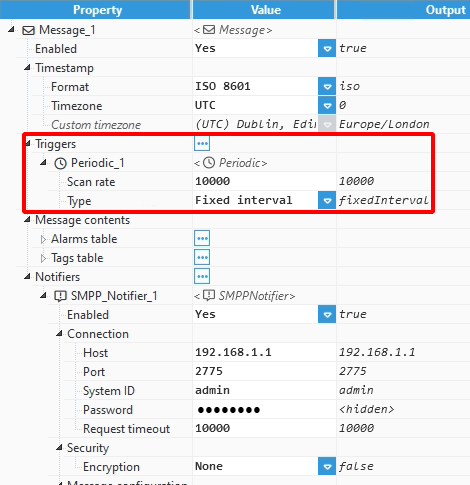 N3uron SMPP Notifier will now send messages to SMPP server.
SMPP server configuration on RUT device
In this configuration example device RUTX12 is used.
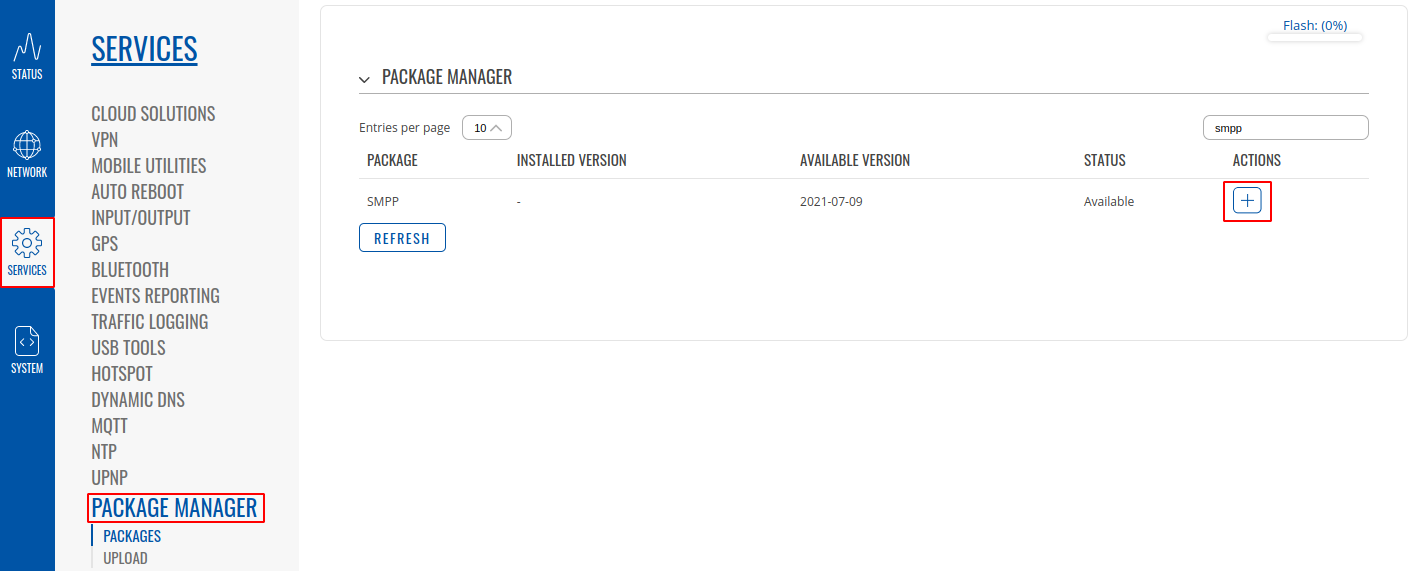
To begin configuring SMPP server, login to your RUT device. Also, make sure device has internet connectivity.
- Enable SMPP service.
- Username as in N3uron SMPP Notifier's System ID.
- Password as in N3uron SMPP Notifier's Password.
- Server port as in N3uron SMPP Notifier's Port.
- Modem - modem used to send SMS to the recipient.*
- - Modem option is available only on RUTX12 device.


