Vpngate.net VPN configuration
Summary
This chapter is a guide on configuring vpngate.net provider VPN instance on RUT routers.
No registration required.
Step 1: Download the OpenVPN Configuration File
Select VPN server
Open internet browser and type www.vpngate.net in your browser url bar. Choose country and press OpenVPN
Select protocol UDP/TCP
Download configuration file. In our example we use TCP protocol.
Step 2: Certificates
Certificate creation
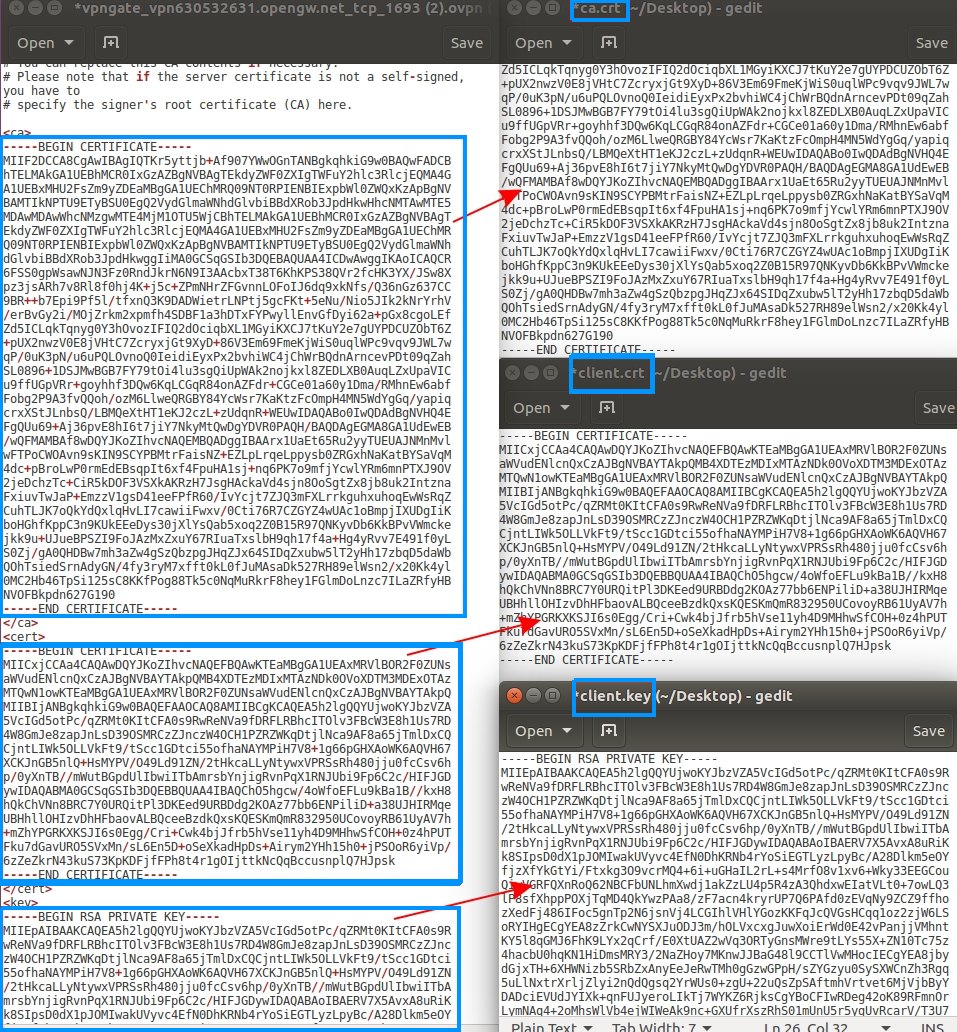
Create three files in your chosen directory for certificates and key:
- ca.crt - Certificate authority
- client.crt - Client certificate
- client.key - Client Key
Create certificates
Open the downloaded VPN configuration file and copy/paste certificates and key to yours empty files.
Save changes.
Step 3: Router configuration
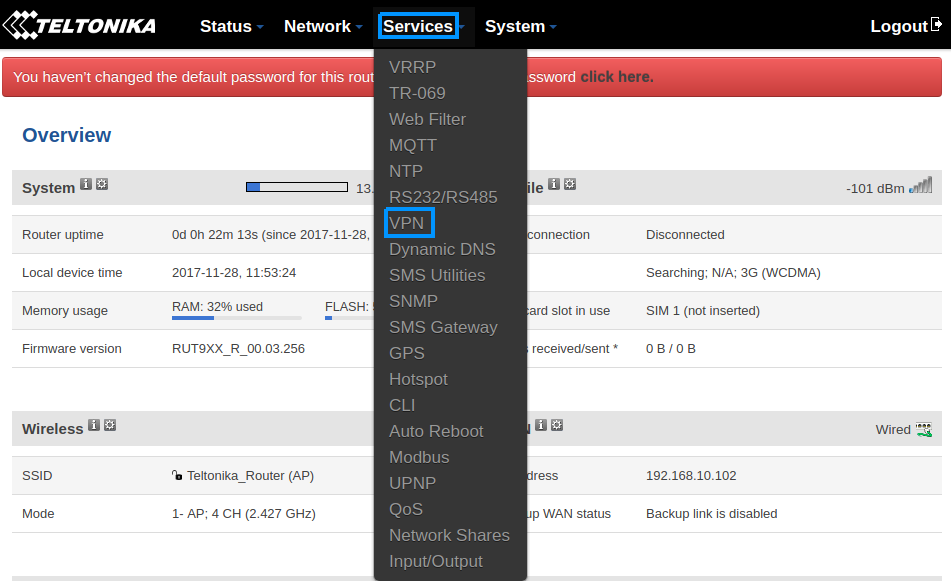
Now we need to open our RUT homepage. You can access the website by entering 192.168.1.1 in your network browser url bar.
Open VPN configuration panel by clicking Services → VPN
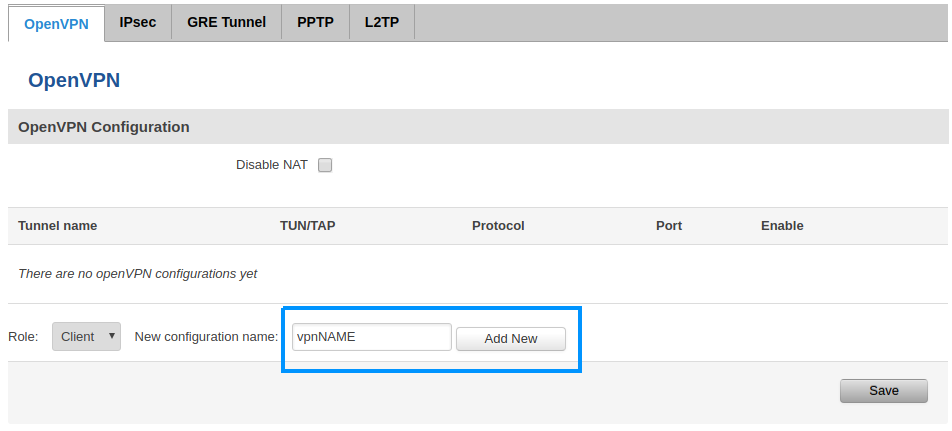
VPN configuration name
Type VPN configuration name and press Add new
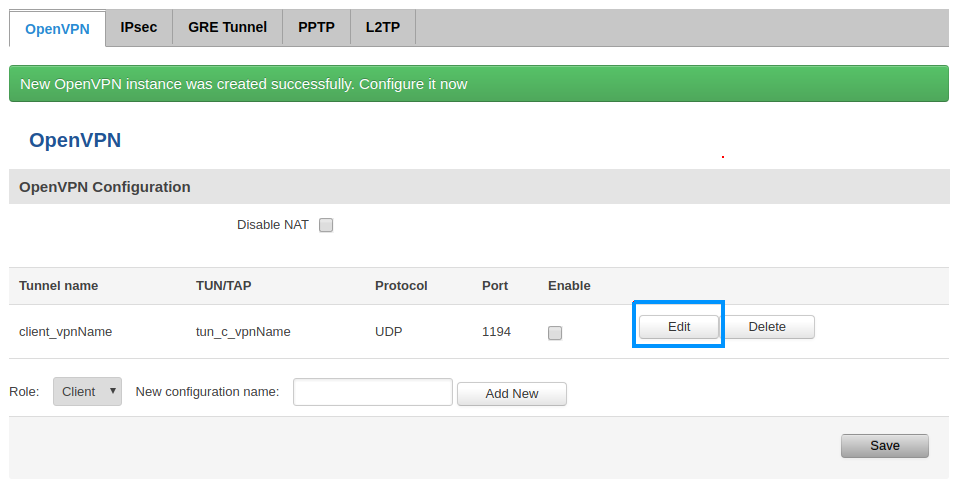
Press Edit button to edit your VPN instance configuration
Configuration settings
Check the Enable box
Select protocol (UDP or TCP. Depends on which configuration file you downloaded in Step 1 )
Set port, encryption, remote host/IP address and HMAC authentication algorithm from the VPN configuration file you downloaded. (example below)
Upload your certificates:
- Certificate authority = ca.crt
- Client certificate = client.crt
- Client key = client.key
Click Save.


