RMS Tags
Summary
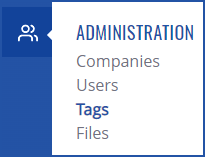
The Tags can be found under the Administration section in the left sidebar and is used to create Tags that can later have devices assigned to them. And users can utilize functionality for various management purposes. Like device filtering by building, location, floor etc. This section of the RMS user manual provides an overview of the Tags section.
View Tags
To manage all created tags go to the RMS web page, Left sidebar panel, (Administration → Tags), this will take you to the Tags overview.
An example of different Tags created for demonstration purposes.
You are able to:
- Create new tags.
- Search by name, description and filter by company.
- Do such actions as: view tagged devices metrics, delete tag.
- Change and add a description for the tag.
- Change table settings and refresh all the data.
Add new Tag
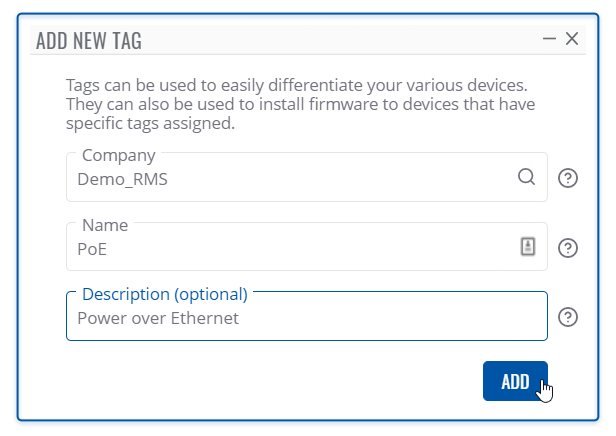
The Add new tag function is used to add new device tags to your RMS profile.
To create a new tag go to the RMS web page, Left sidebar panel, (Administration → Tags) and click on + ADD button.
Move your mouse pointer to the Top control Tags menu and select Add new Tag (Tags → Add new Tag).
- At the top of your screen you will get a notification: Tag created successfully.
- The newly created tag will be visible in the Tags table.
Assign tags to device list
To add tags to your device(s) list, see Manage tag(s).
Move your mouse pointer to the Top control Devices menu and select Assign tags to device list (Devices → Assign tags to device list).
To assign tags to devices from the file, see
Manage tag(s)
To manage tag(s) for your device(s) in RMS, go to the RMS web page, Left sidebar panel, (Management → Devices), select desired devices and click on Device submenu. There you'll have an option to Manage tag(s).


