Difference between revisions of "LAN as WAN on TRB series"
Justas.Cip (talk | contribs) |
Justas.Cip (talk | contribs) |
||
| Line 66: | Line 66: | ||
[[File:2023-10-13 10h56 37 wan metric.png|border|class=tlt-border|750px]] | [[File:2023-10-13 10h56 37 wan metric.png|border|class=tlt-border|750px]] | ||
| − | Note: TRB1XX does not have Failover functionality, so to use the Mobile interface, you would need to modify metrics or edit routing table. | + | '''Note''': TRB1XX does not have Failover functionality, so to use the Mobile interface, you would need to modify metrics or edit routing table. |
Revision as of 10:06, 20 December 2023
The information on this page is updated in accordance with the 00.07.5 firmware version .
Introduction
This article provides a guide on how to configure the LAN port as WAN on TRB series devices that have Ethernet ports. It can be useful if you want the device to be able to connect to the internet without relying on a SIM card.
Configuration overview and prerequisites
Before we begin, let's overview the configuration that we are attempting to achieve and the prerequisites that make it possible.
Prerequisites:
- TRB series device with Ethernet port.
- Router or a gateway that could provide TRB with internet connectivity (make sure that the LAN IPs of the TRB and the router do not match).
- End device for configuration.
Device configuration
Set your WebUI to Basic Mode:
Navigate to Network → LAN → edit LAN the instance:
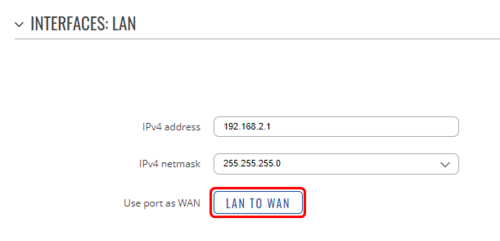
Once there, press on the LAN to WAN button:
You will receive a pop-up message to confirm that the interface will be switched. Note that Remote access will be turned on automatically, so the device will be reachable through the WAN port. Press on the Switch Interface button to continue:
To finish up the configuration, press Save & Apply to create a new interface for WAN:
With this, the configuration is done.
How to reach the device through the WAN port
Once the configuration has been finished, connect the TRB to the router to supply an internet connection to the TRB. If you'd like to reach and configure the device, then you would need to know what WAN IP address it currently uses. To find out, you would need to reach your router and check the DHCP leases.
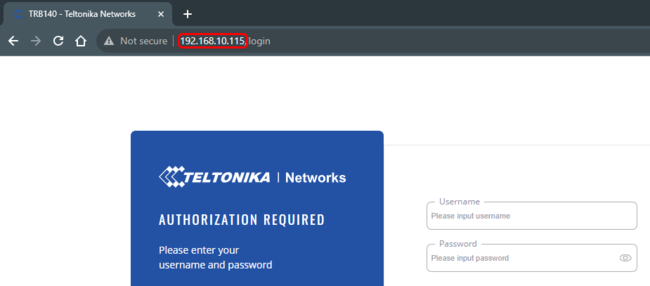
For example, on the Teltonika router, you could check the lease by navigating to Status → Network → LAN. Here we can see that the TRB has been leased a 192.168.10.115 IP address:
Also, the command line could be used to check the DHCP lease. Use arp command to find the device and a corresponding IP address:
Using this IP (192.168.10.115) you should be able to reach the device:
Note: If you need to reach SSH using the same IP, make sure to enable Remote SSH access in the System → Administration → Access Control section.
Testing the configuration
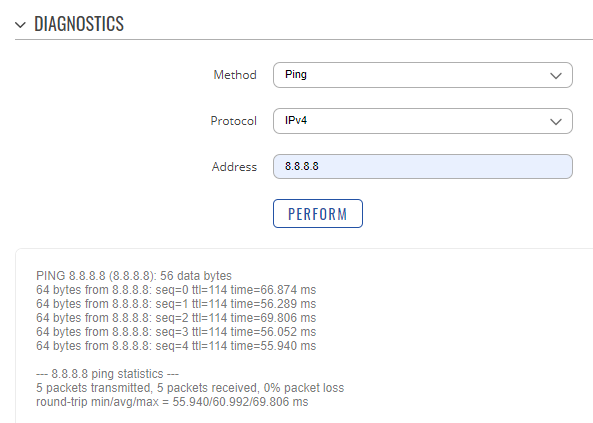
If the device does not have SIM inserted, simply navigate to System → Maintenance → Troubleshoot and look for Diagnostics section. Here you can check if the device is able to reach the internet:
If the device does have SIM inserted, you will need to change the WAN interface metric first. To do so, switch the WebUI to advanced, navigate to Network → WAN and place the lan_to_wan interface in the top position:
Note: TRB1XX does not have Failover functionality, so to use the Mobile interface, you would need to modify metrics or edit routing table.


