Purple.ai Hotspot Configuration
Summary
This chapter is a guide on configuring a purple.ai provider hotspot instance on RUT routers.
Step 1: purple.ai configuration
Creating new customer
If you already have created a desired customer, you can skip this step.
Log in with your credentials to the purpleportal.net/login system. Go to Management → Customers.
Here, press Create new customer and then Add a single customer.
Fill in the required information and press Save details
Adding a venue
After successful customer creation, we can add a venue to it.
To start, hover your mouse over the three dots of the desired customer and press add venue.
Select to use the standard configuration or use the setup wizard. This configuration example will be shown with the setup wizard.
Fill in the required information and press next.
Adding device
Now we will add a device to the venue.
While still being in the venue configuration, press Yes, configure now.
 Here, enter the device's MAC address and write the desired name for it.
Make sure to download or open the instructions, as it contains required information for the hotspot configuration.

Step 2: Router configuration
Creating wireless access point
If you have already set up your wireless access point - skip this step.
- Login to your router's WebUI. You can do this by entering the router's LAN IP address (192.168.1.1 by default) into the URL field of your web browser.
- Go to the Network → Wireless page.
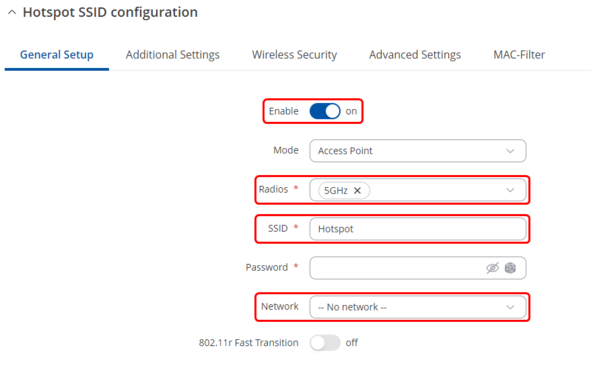
- Click 'Add' to create a new Wireless Access Point.

Edit your new Access Point as below:
 |
|
|---|---|
|
Navigate to Wireless Security tab and choose your
- Encryption - No encryption.

Set up hotspot
Navigate to Services → Hotspot and add a new Hotspot Instance. To do so, find the Add New Instance section and select your Wireless AP in the interface list, then press Add.

Hotspot configuration
In the General tab, do the following steps:
 |
|
|---|---|
|
 |
|
|---|---|
|
In the Radius tab, enter the Radius server configuration details from Purple.ai instructions: |
Under Walled Garden
 |
|
|---|---|
|
Add these mandatory addresses: purpleportal.net venuewifi.com cloudfront.net If you added social media access methods, then you need to add additional domains that can be found here. Click Save & Apply. |
Test your hotspot
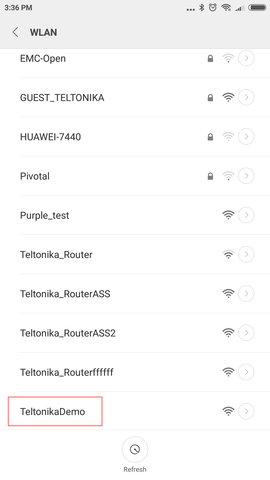
Try connecting to your router using computer or mobile phone.
Select your configured wifi network.
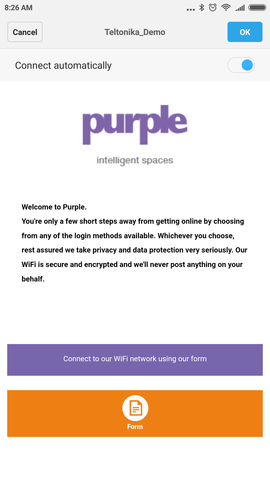
Connect to network by filling purple.ai form or if configured with social media account
External links
https://purpleportal.net/hardware/firmware/download/130/userguide


