Template:Rms manual fota select config
Appearance
The information on this page is out of date. This feature is deprecated and not available on the current version of RMS.
The Select config function is used to assign configuration (backup) files to routers in the FOTA device table. Before you can assign config files to devices, you need upload them to your RMS profile. You can do that from the Files tab, Config files section (Files → Config files; instructions here).
- Select the device(s) which will have config files assigned to them:
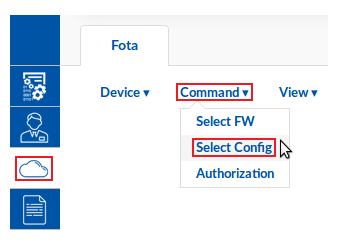
- Scroll your mouse pointer to the Command submenu (Fota → Fota → Command) and click "Select config":
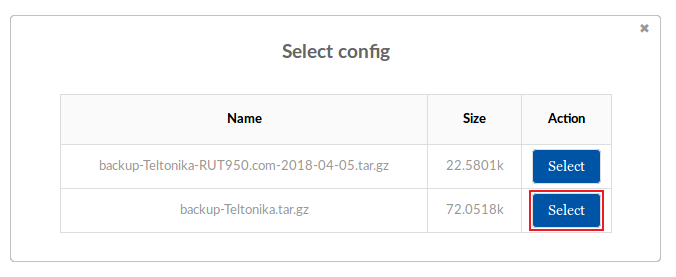
- Choose which config file you would like to assign and click the "Select" button next to it:
- Check the FOTA device table. Your selected config file should be indicated under the "Config on server" column next to the device(s) that you selected:
- Now that the config has been assigned, we can overview configuration upload methods, of which there are several:
- Upload from RMS - you can upload configuration files to your devices from the RMS Management tab, Configuration submenu (Management → Configuration → Upload; instructions here). This is not directly related to Fota, but it is the easiest to upload configurations to multiple devices.
- Upload via SMS - you can upload config files with the config_update SMS Utilities rule (instructions here). When you send this message to a router, it will download the configuration file that was assigned to it in FOTA and update itself.
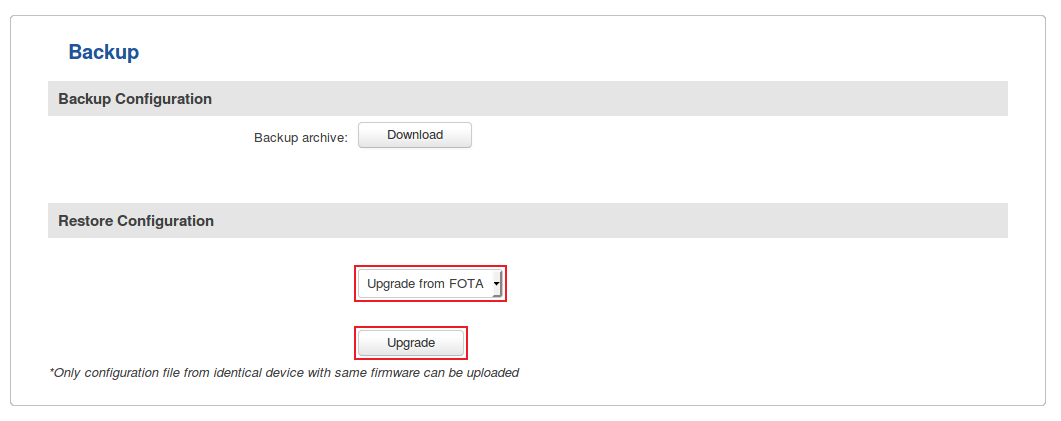
- Via the router's WebUI - you can update a router's configuration to the one that was assigned to it in FOTA by simply logging in to that router's WebUI and navigating to the System → Administration → Backup page. To upgrade select "Upgrade from FOTA" under the "Retore Configuration" section and click "Upgrade":


