How to enable remote access for RMS on the router?
Before you can add a new device to Teltonika's Remote Management System (RMS), you must enable remote monitoring for RMS in the router's configuration. You can do this either before or after adding the device from the RMS web page. A brief guide on how to do this is presented below:
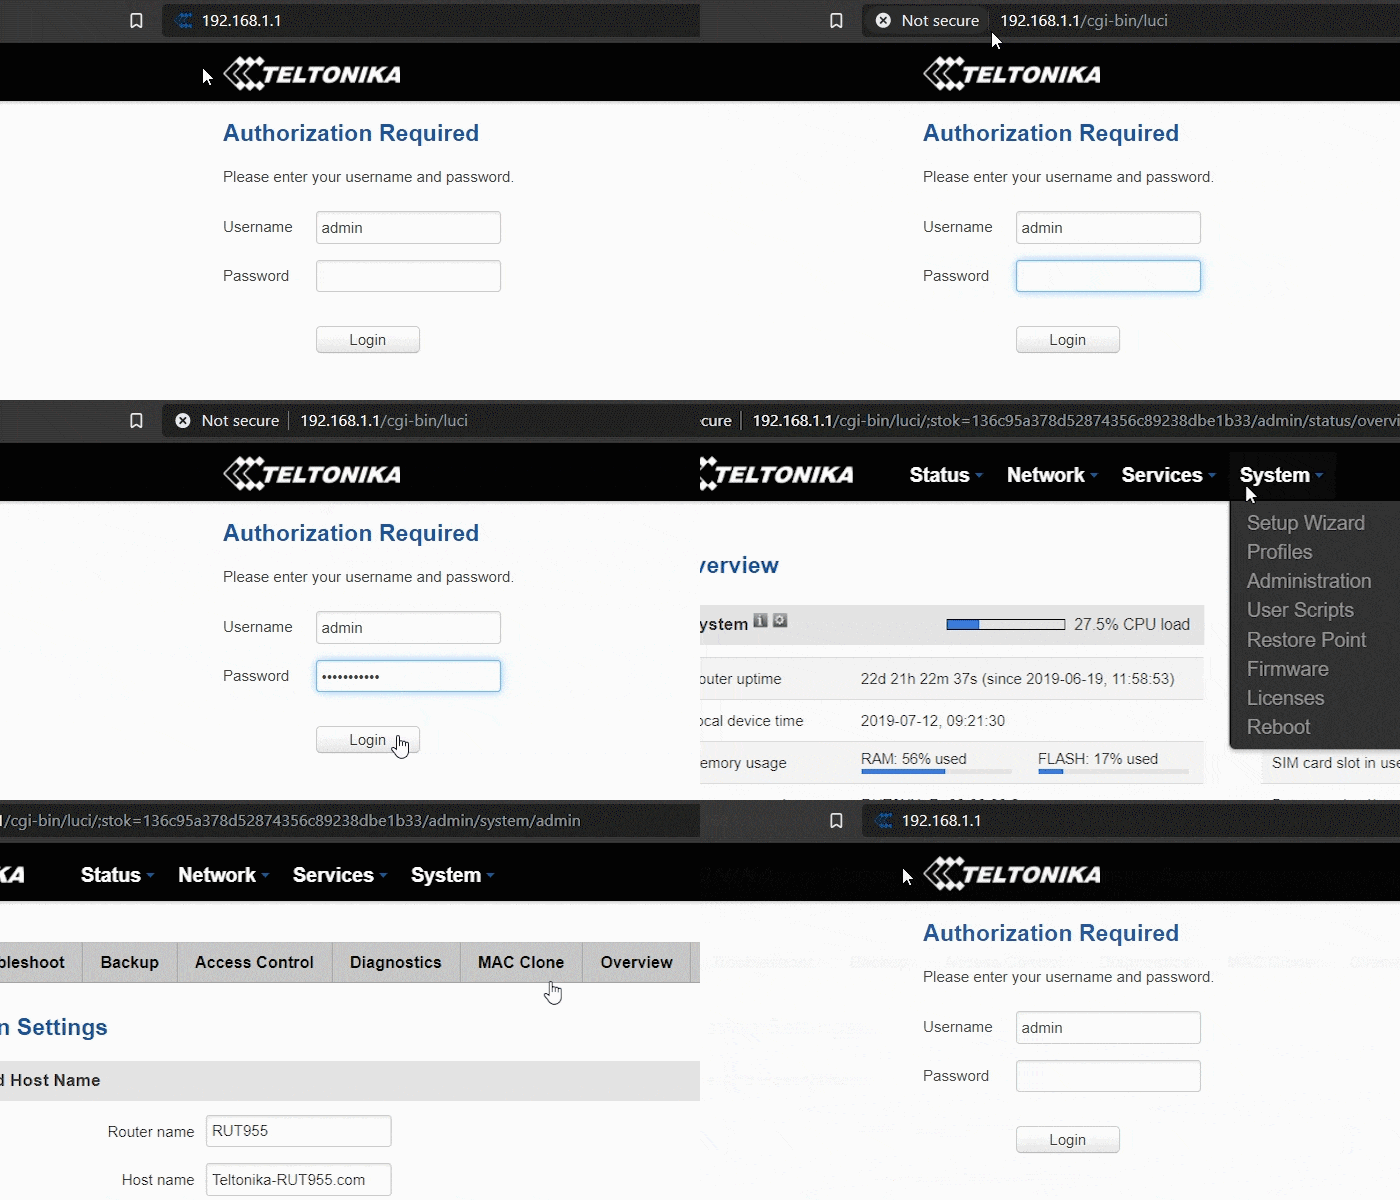
1. Open your web browser ant type in the router's LAN IP address (192.168.1.1 by default) into the URL field and press the "Enter" key:
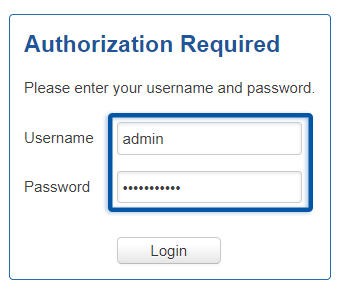
2. Next, you will be greeted with the Login window. Type in your login information and click "Login":
Important!
Default login values are Username: admin; Password: admin01 (this is the default password for RUT routers, but you will be prompted to change it during you first login. If this is not your first login, use the password you chose before).
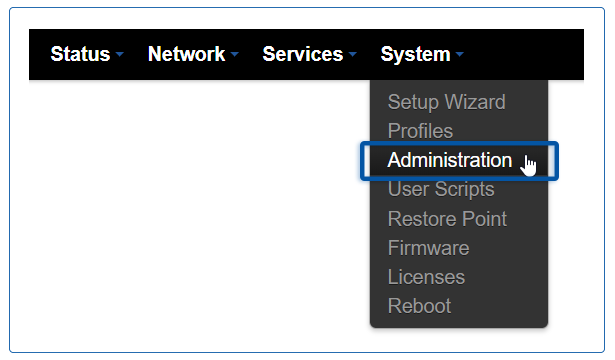
3. When you completed the login, navigate to the System menu and click on the Administration field:
4. From the Administration Settings window go to the RMS section located near the top of the page:
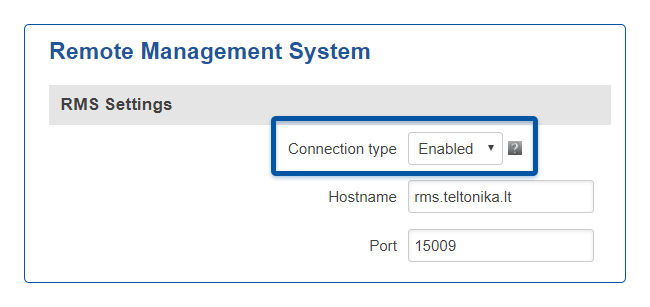
5. Place a check mark next to the Enable remote monitoring field and don't forget to save the changes:
NOTE: if you are adding more than one device, don't forget to do this for each separate device.


