Cumulocity Configuration
From Teltonika Networks Wiki
Revision as of 11:08, 21 July 2020 by Dziugas (talk | contribs) (Created page with "right <b>Cumulocity IoT</b> is a cloud-based, real-time IoT management platform that's compatible with Tel...")
Main Page > General Information > Configuration Examples > Third party services > IoT platforms > Cumulocity Configuration
Cumulocity IoT is a cloud-based, real-time IoT management platform that's compatible with Teltonika-Networks devices.
Introduction
This article contains step-by-step instructions on how to set up a Cumulocity server and register a Teltonika-Networks device on it.
Creating an account
First of all, you will need to set up your Cumulocity environment (server).
- Register an account on Cumulocity.
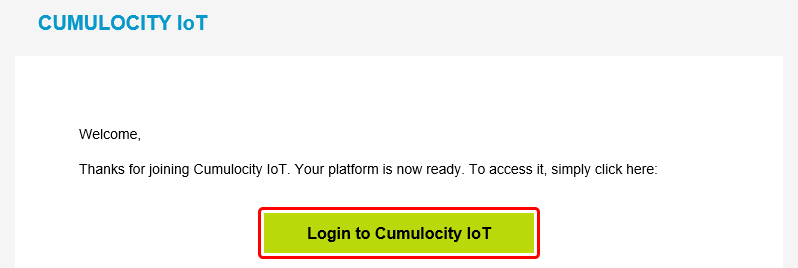
- Wait a few minutes after the registration and open your email account. You should have received an email with the subject 'Welcome to Cumulocity IoT'. Open the email and click 'Login to Cumulocity IoT'.
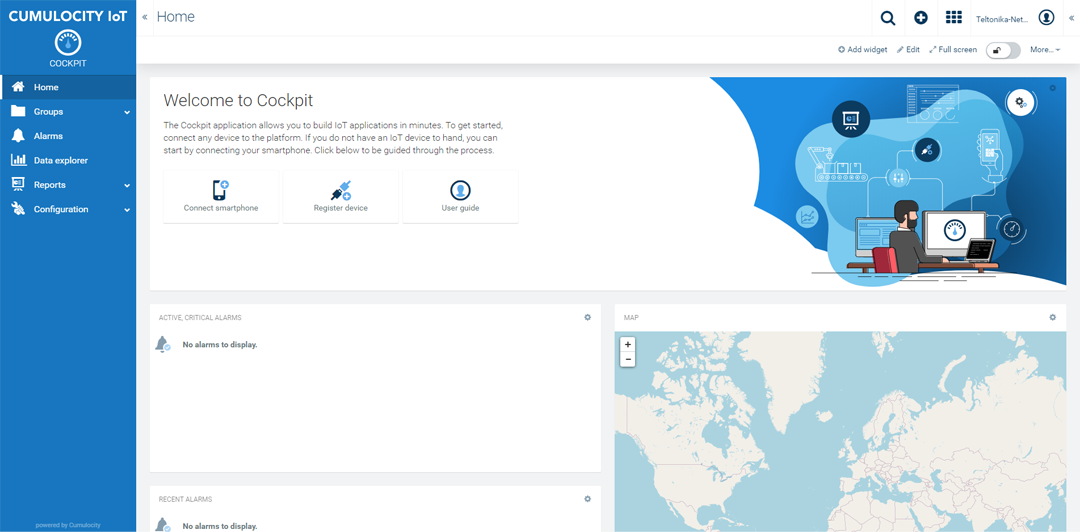
- Upon a successful login you should be redirected to the Cumulocity Cockpit.


Device configuration
To
- Log in to your device's WebUI.
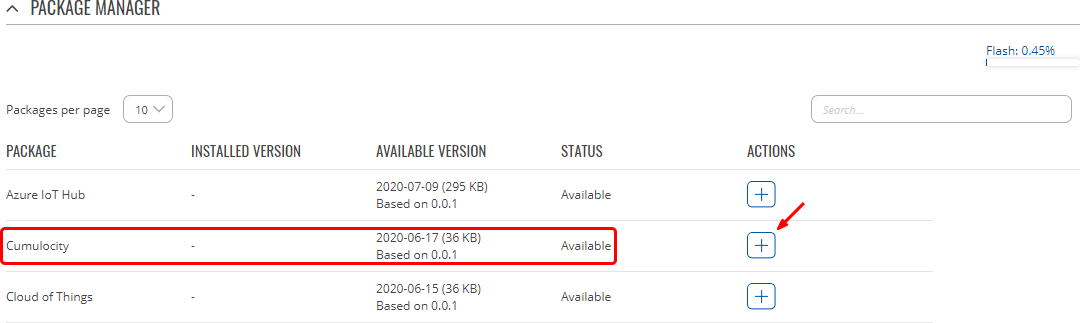
- Go to Services → Package Manager and install Cumulocity.
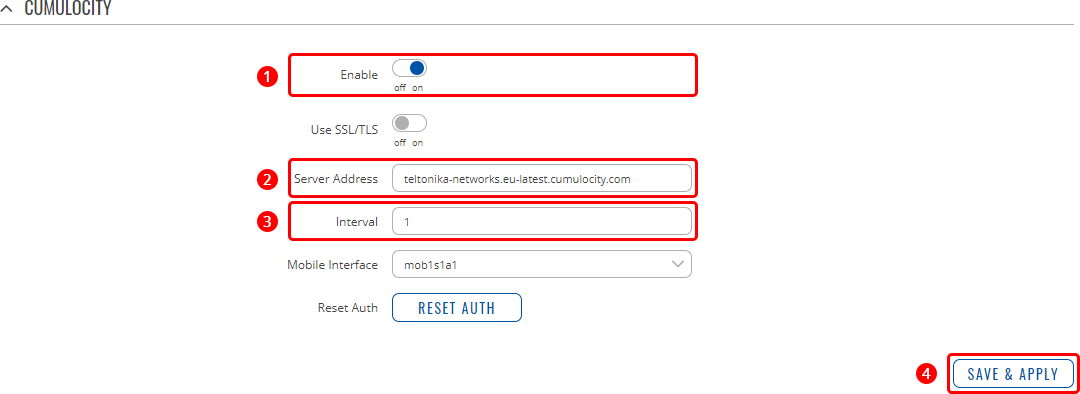
- Go to Services → Cloud Solutions → Cumulocity and configure it as follows.
- Enable Cumulocity
- Specify your Cumulocity server's address in the 'Server Address' field.
- Set a connection frequency interval (at least 1 minute).
- Click 'Save & Apply'.


