Telenor cloud connection
From Teltonika Networks Wiki
Main Page > IoT Platforms > IoT > Telenor cloud connection
Introduction
Telenor is a Managed IoT Cloud (MIC) - a secure cloud platform for device and data management that generates valuable and useful insights about your connected products. It provides the building blocks you need to connect your product, collect and store all product data, and extract value and insights from that data.
This article contains step-by-step instructions on how to connect and configure a RUT9xx series router to the Telenor cloud.
Prerequisites
You will need:
- A router from RUT9xx series
- A Telenor account
Adding and configuring a device
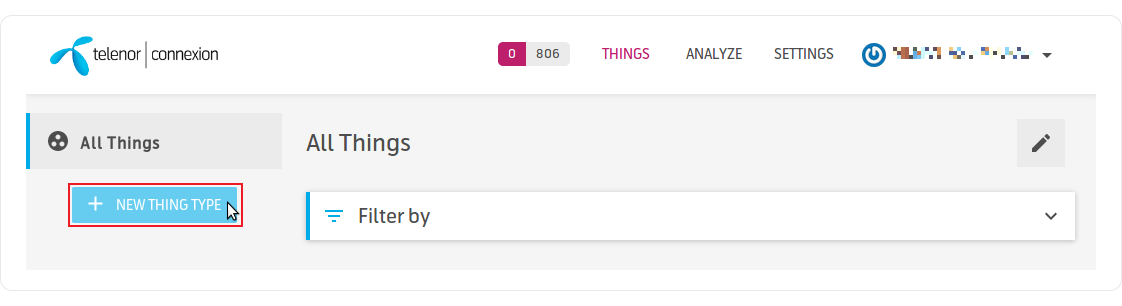
- Login to your Telenor account. Click the New Thing Type button located on the left side of the screen:
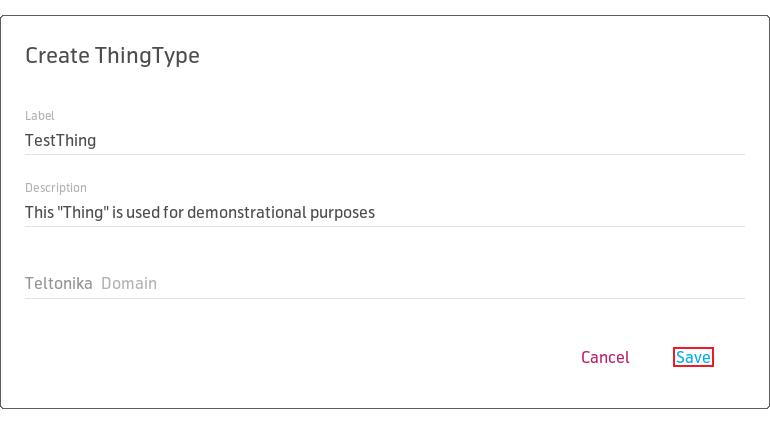
- Create a custom Label, Description and select your Domain name. Click Save:
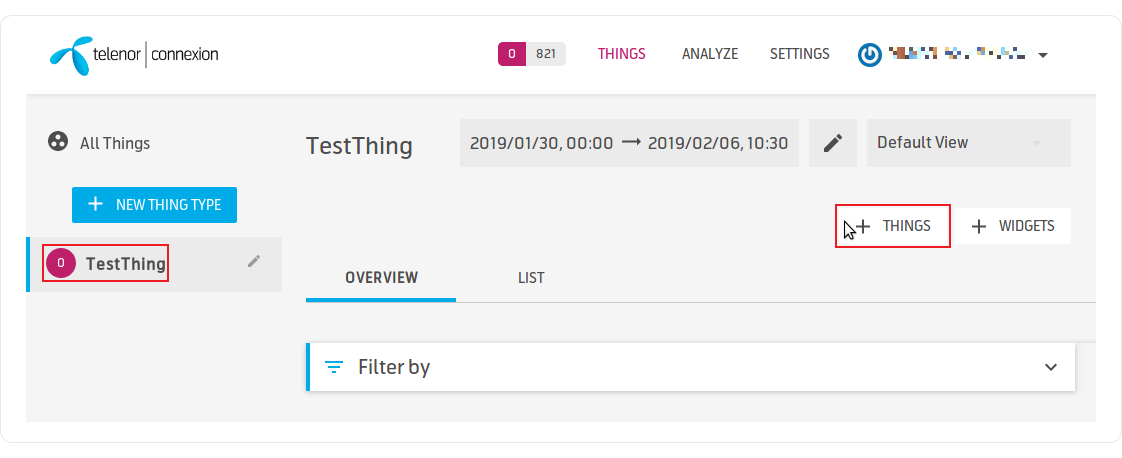
- Click on the newly created Thing Type and add a new "Thing":
- Fill out the following form. Make sure the switch next to the Batch field is flipped ON (
 ) as this will generate the certificates necessary to connect your router to Telenor. Click Create:
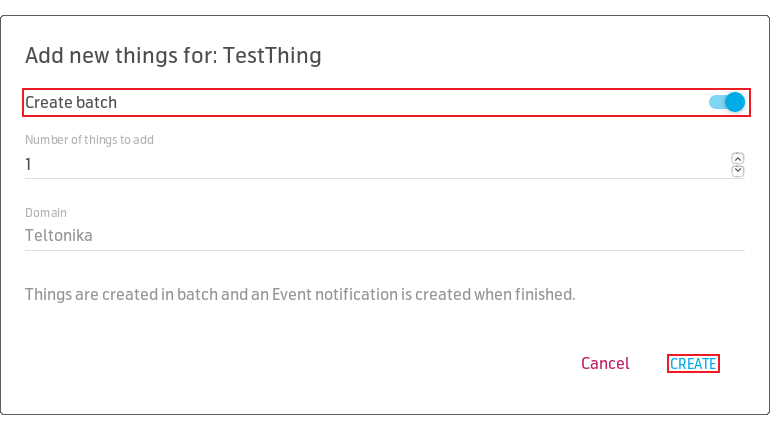
- The newly create batch should be visible in the Thing Credentials table. Click the download button (
 ) to get your certificates:
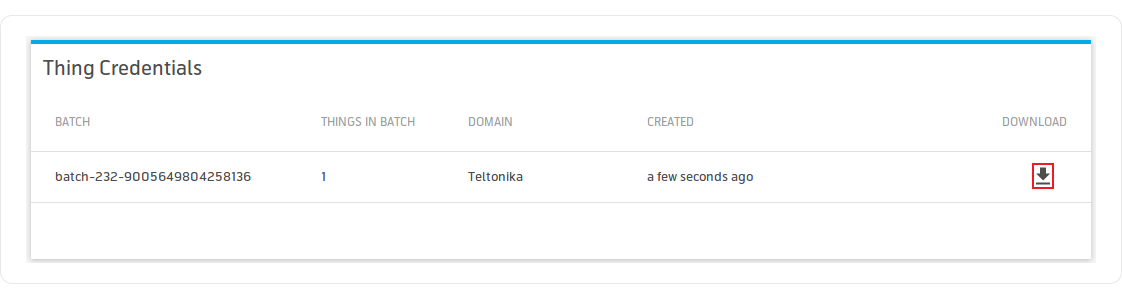
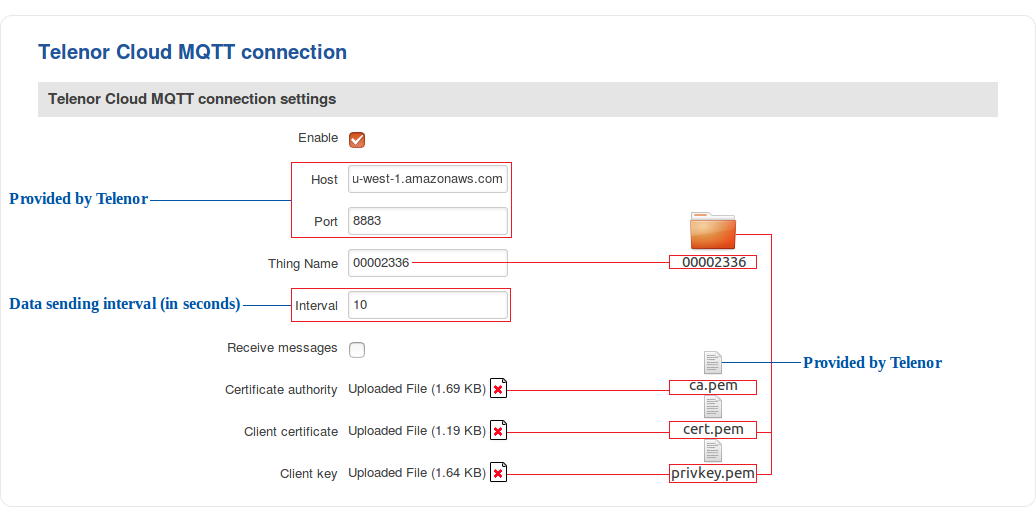
- Login to the router's WebUI and go to the Services → Telenor MQTT page. Configure Telenor MQTT:
- Host and Port fields should be filled out with information provided by Telenor
- Thing Name field value should match the folder name found inside the downloaded batch archive
- Certificate Authority (CA) file should be provided by Telenor
- Client certificate and key files can be found in the downloaded batch archive